Replace Nozzle
This is a step-by-step guide on how to change your Nozzle.
Before you start, make sure the filament is unloaded. Click here. for instructions.
You will need pliers and a socket wrench (6mm).
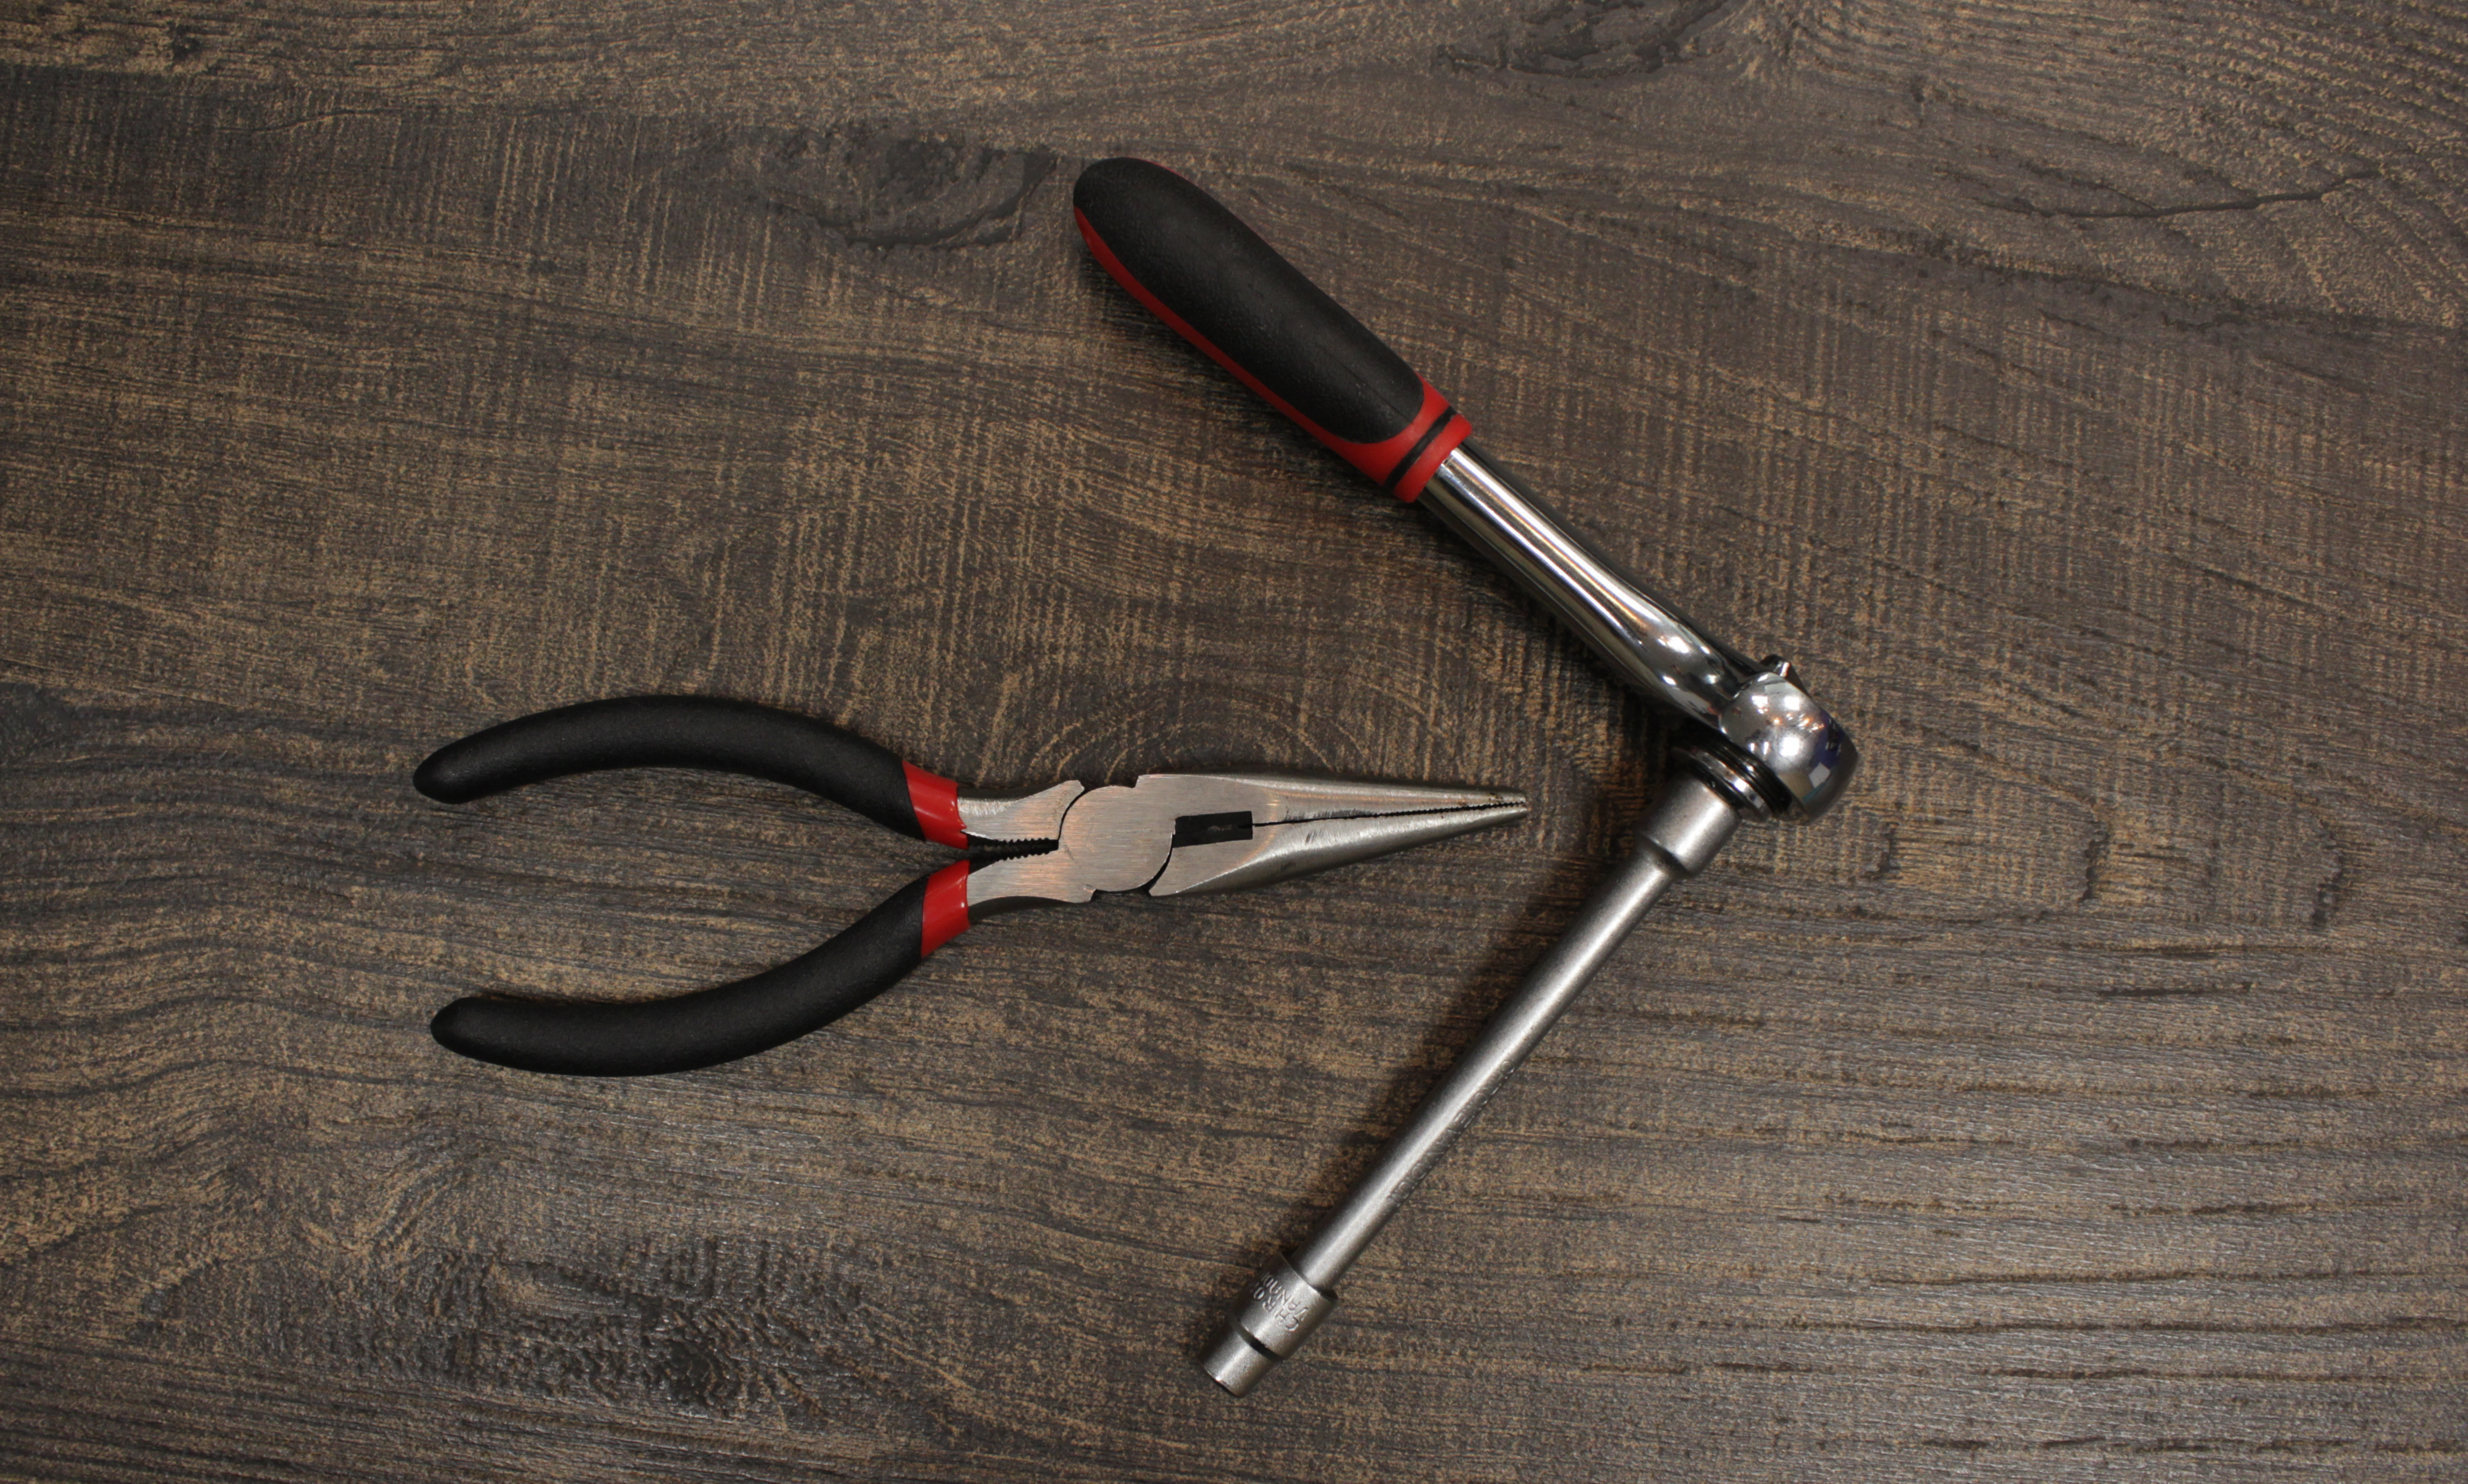
1. Move the extruder so you can reach the Nozzle.
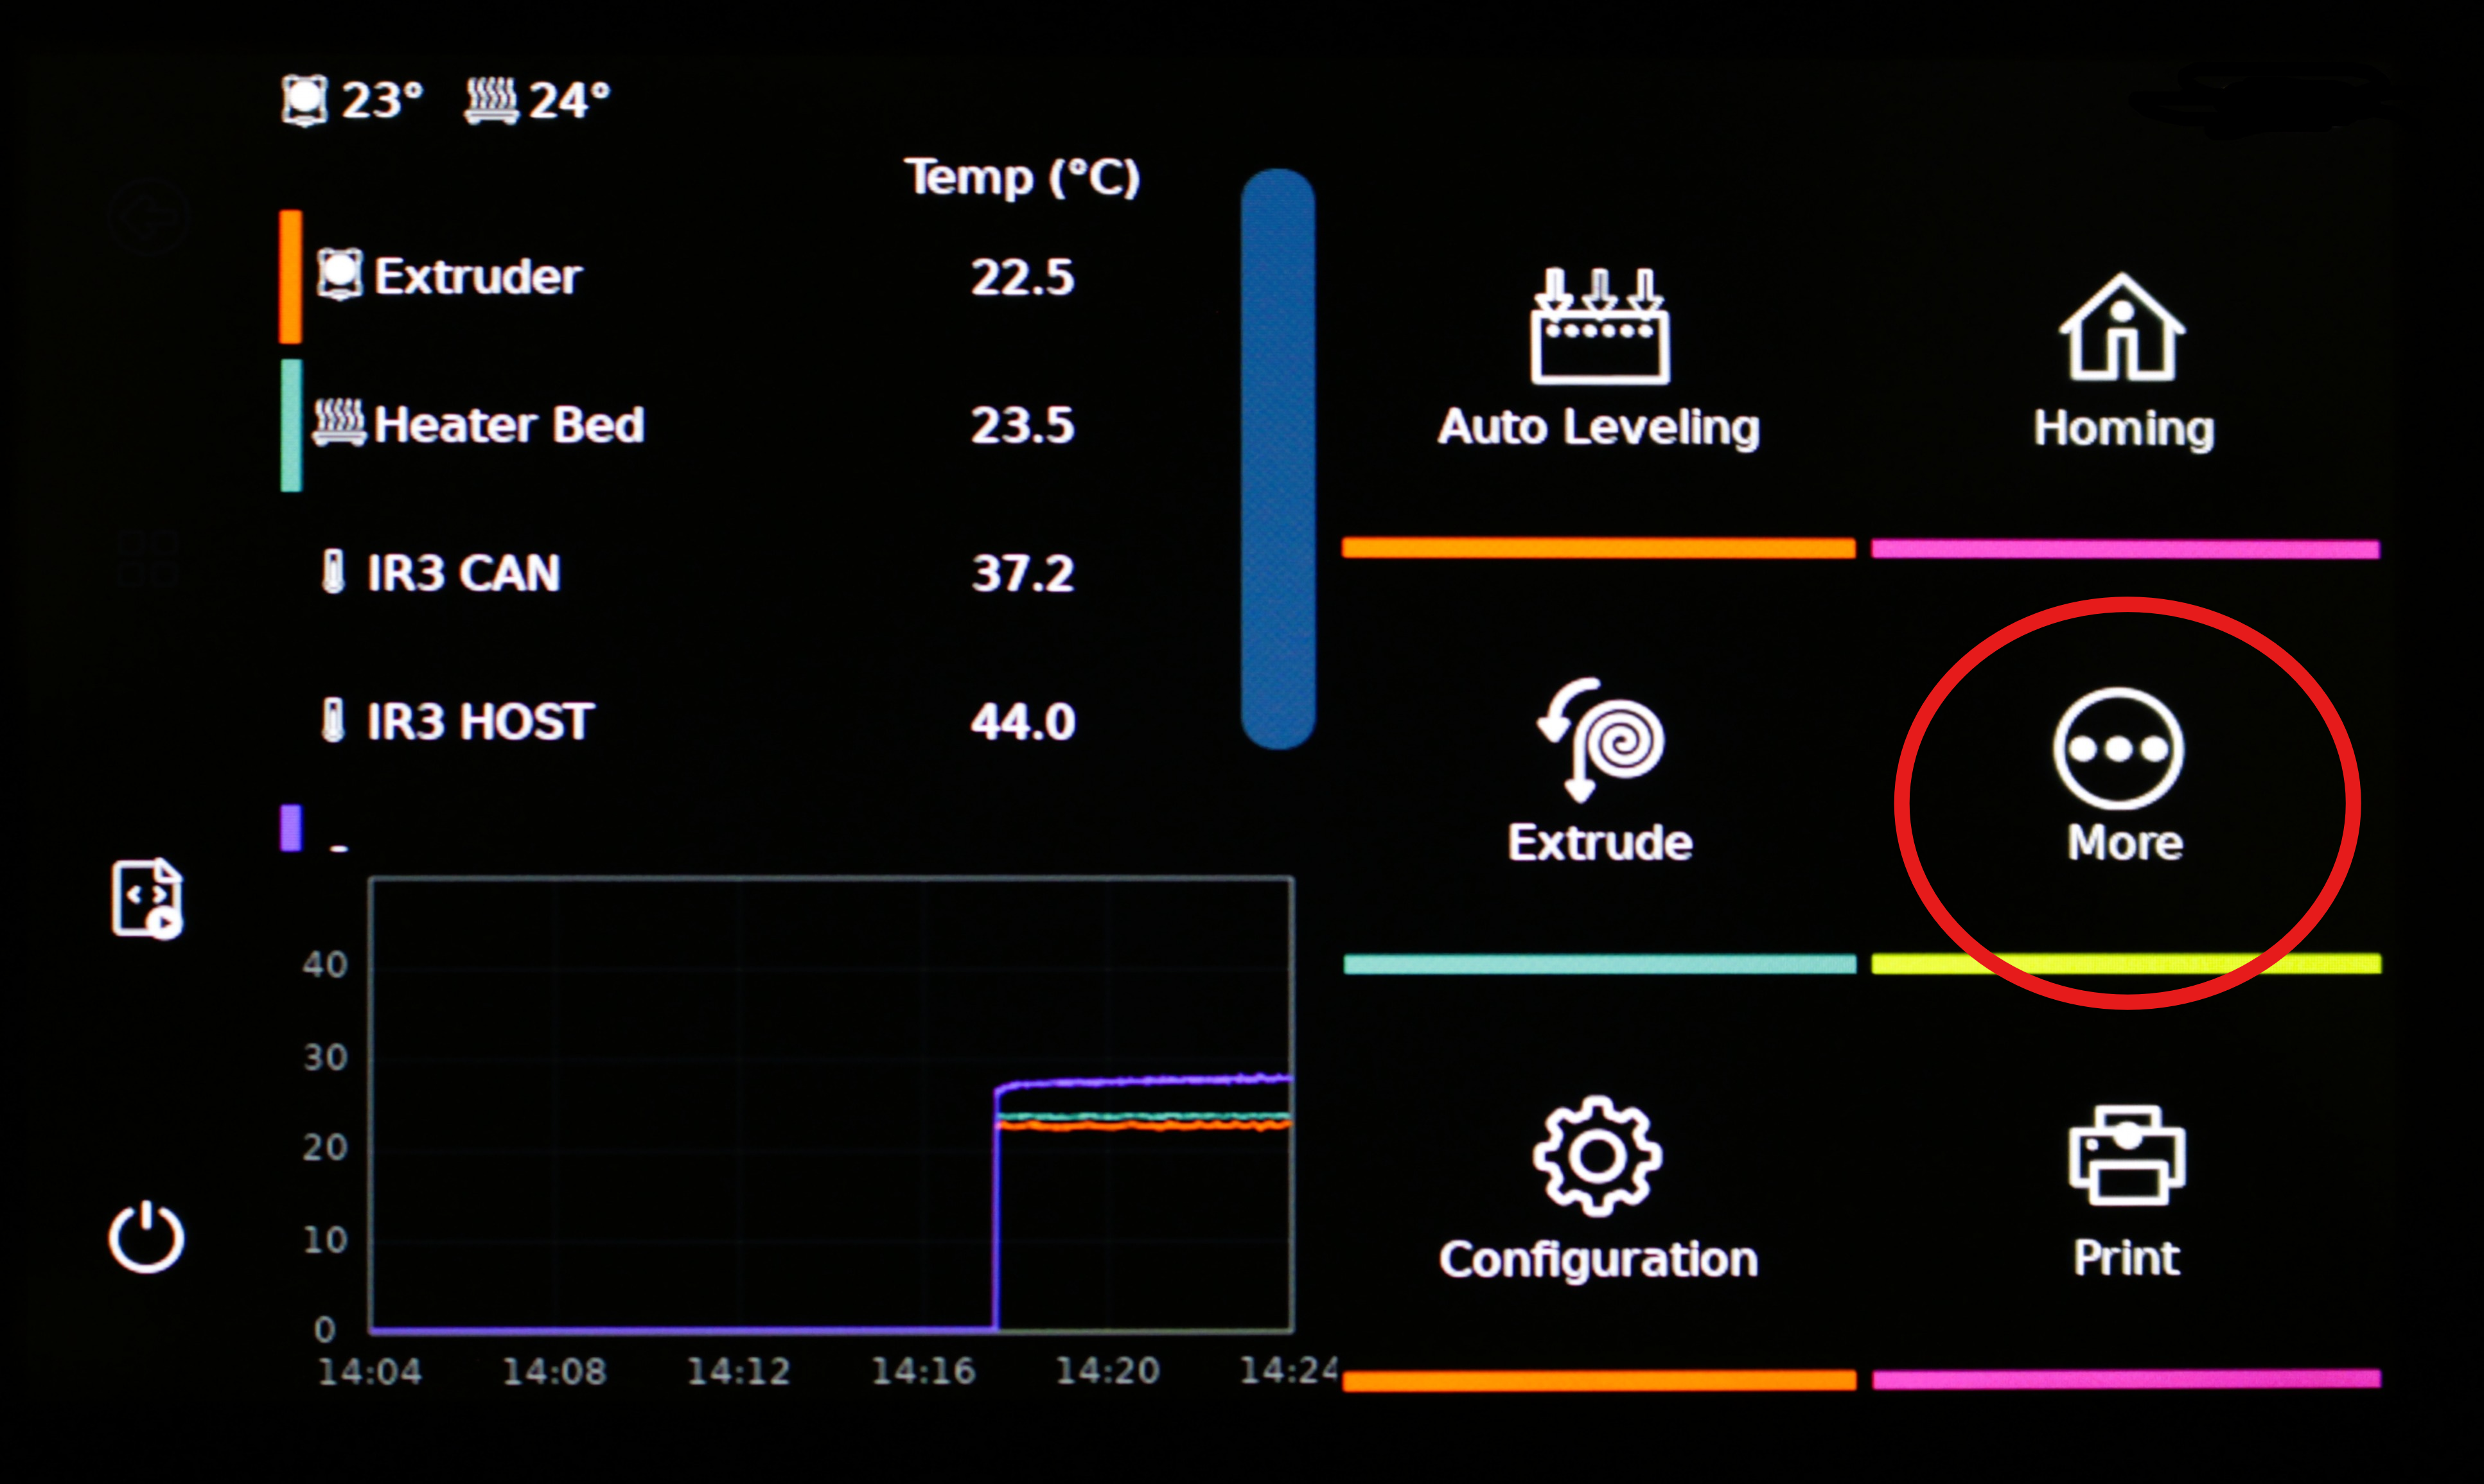
Go to the screen of your printer, and tap the following buttons:
- Click on More
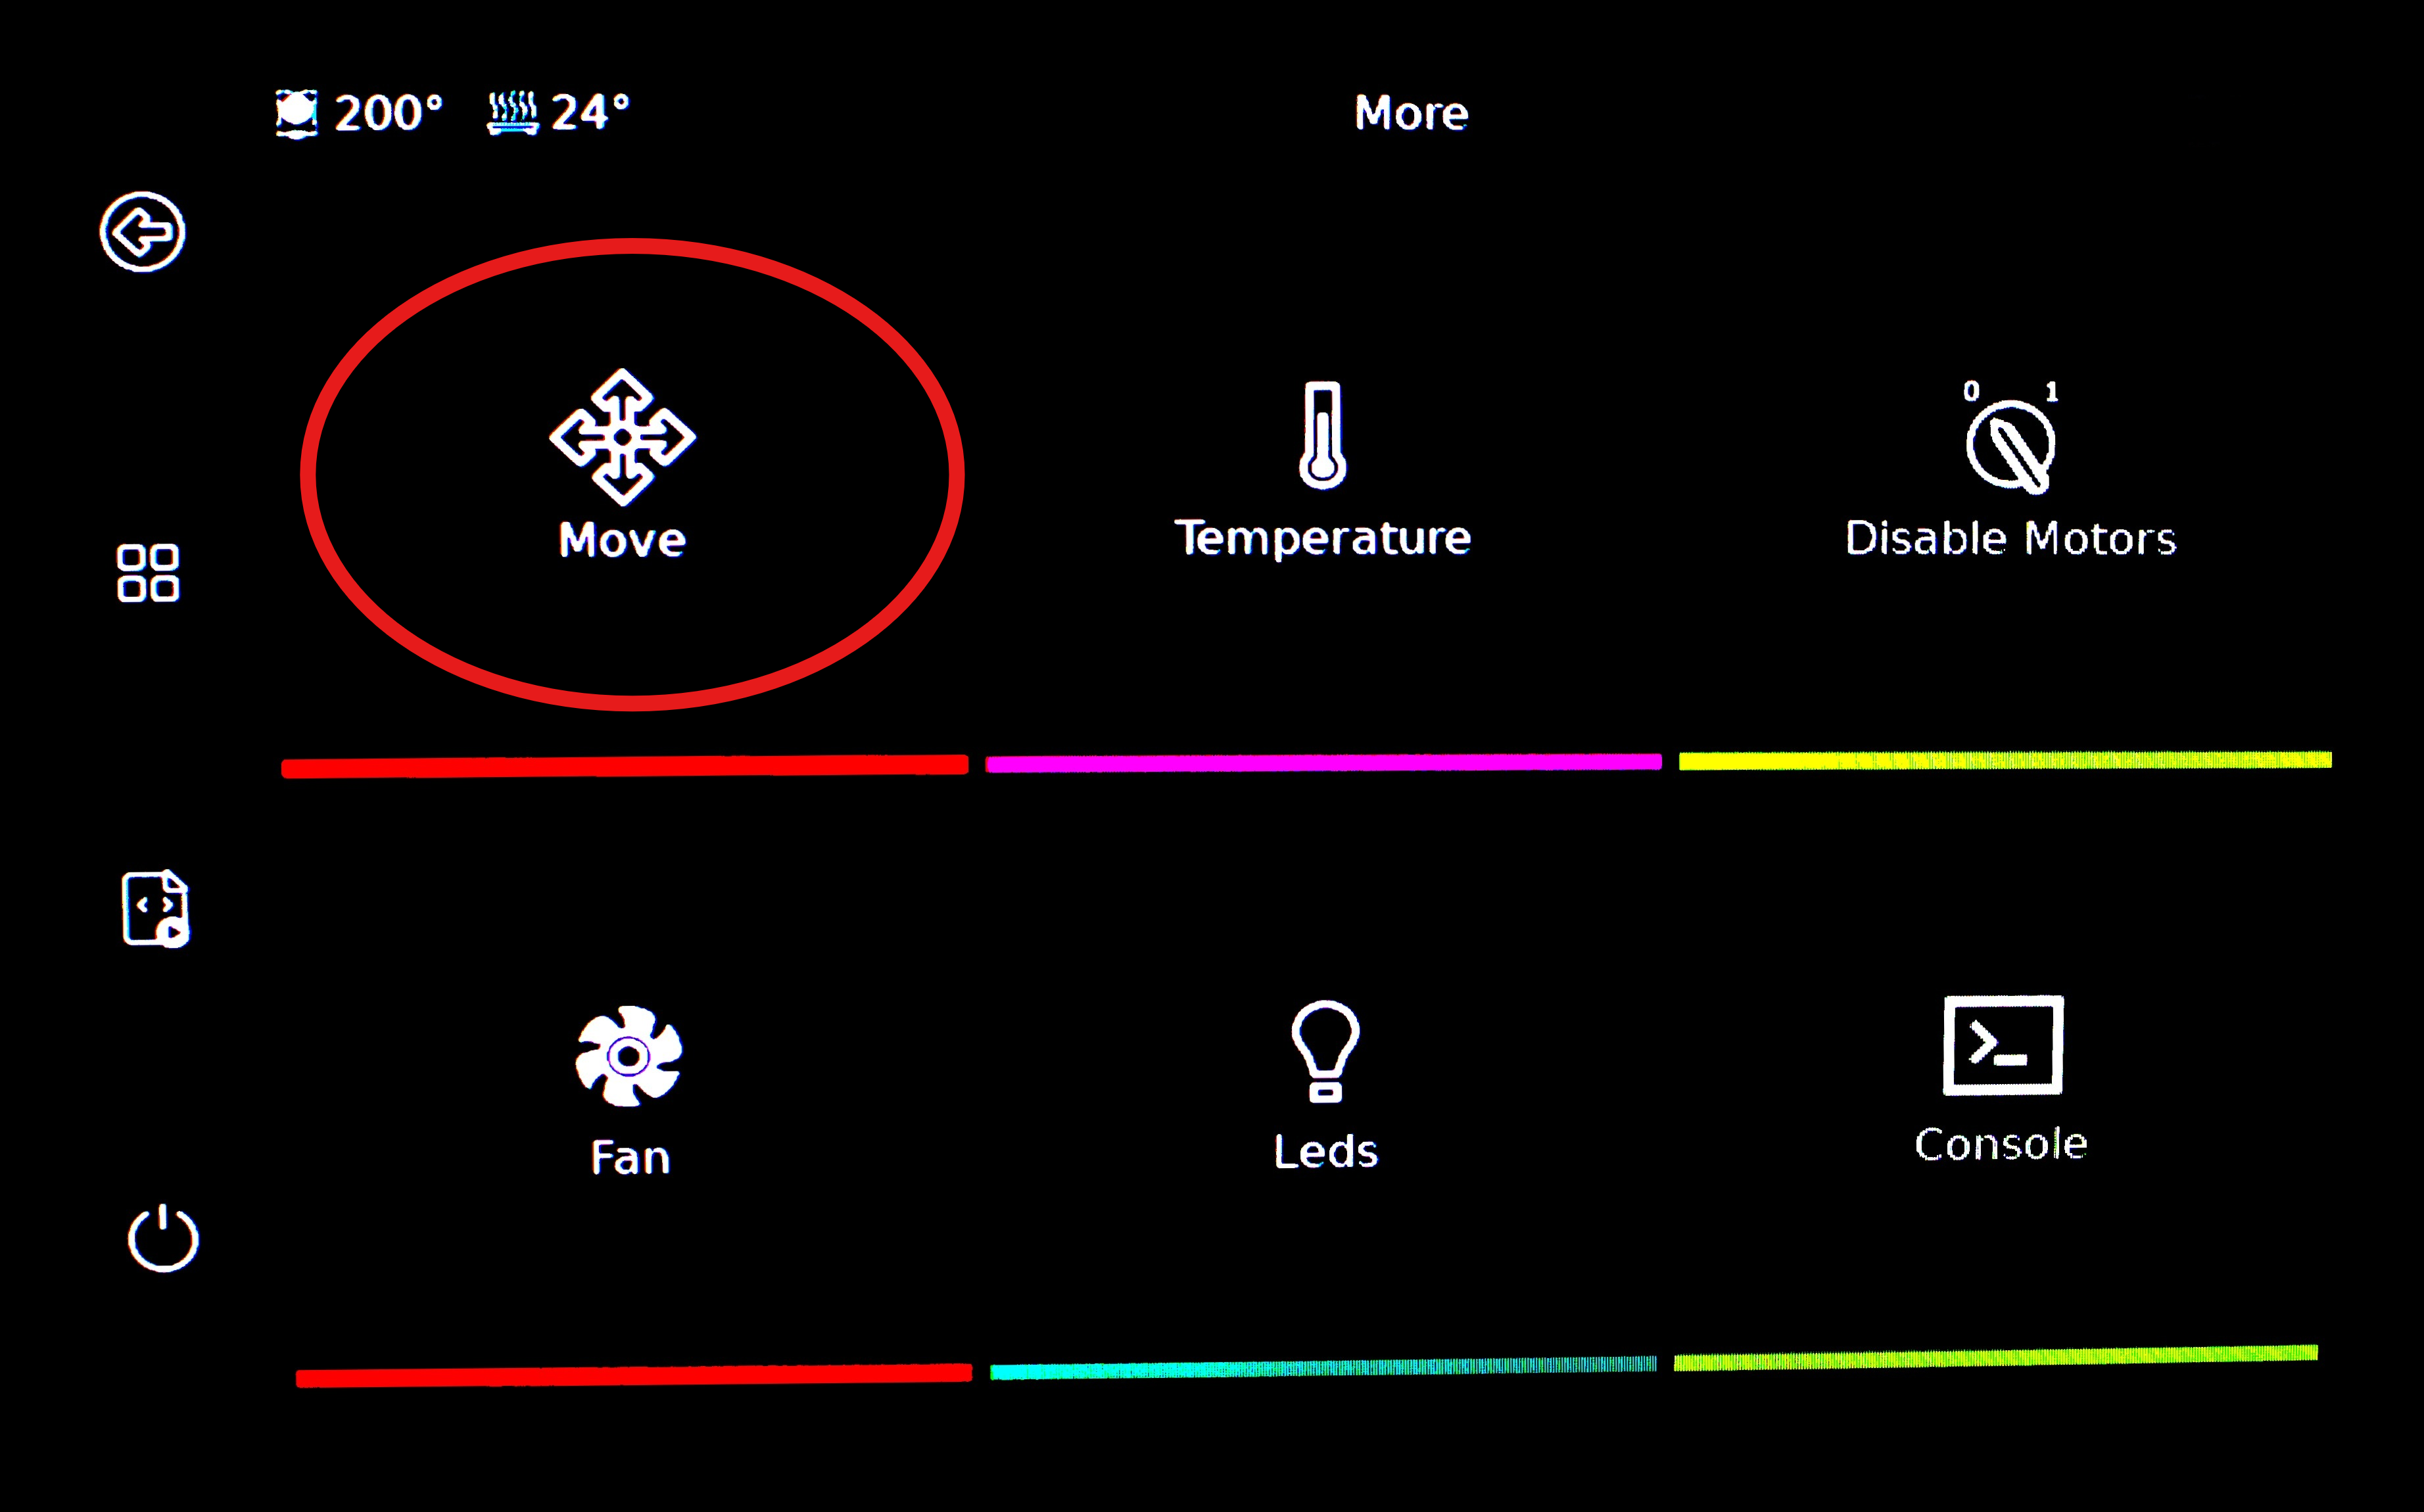
- Click on Move
- Click on Home
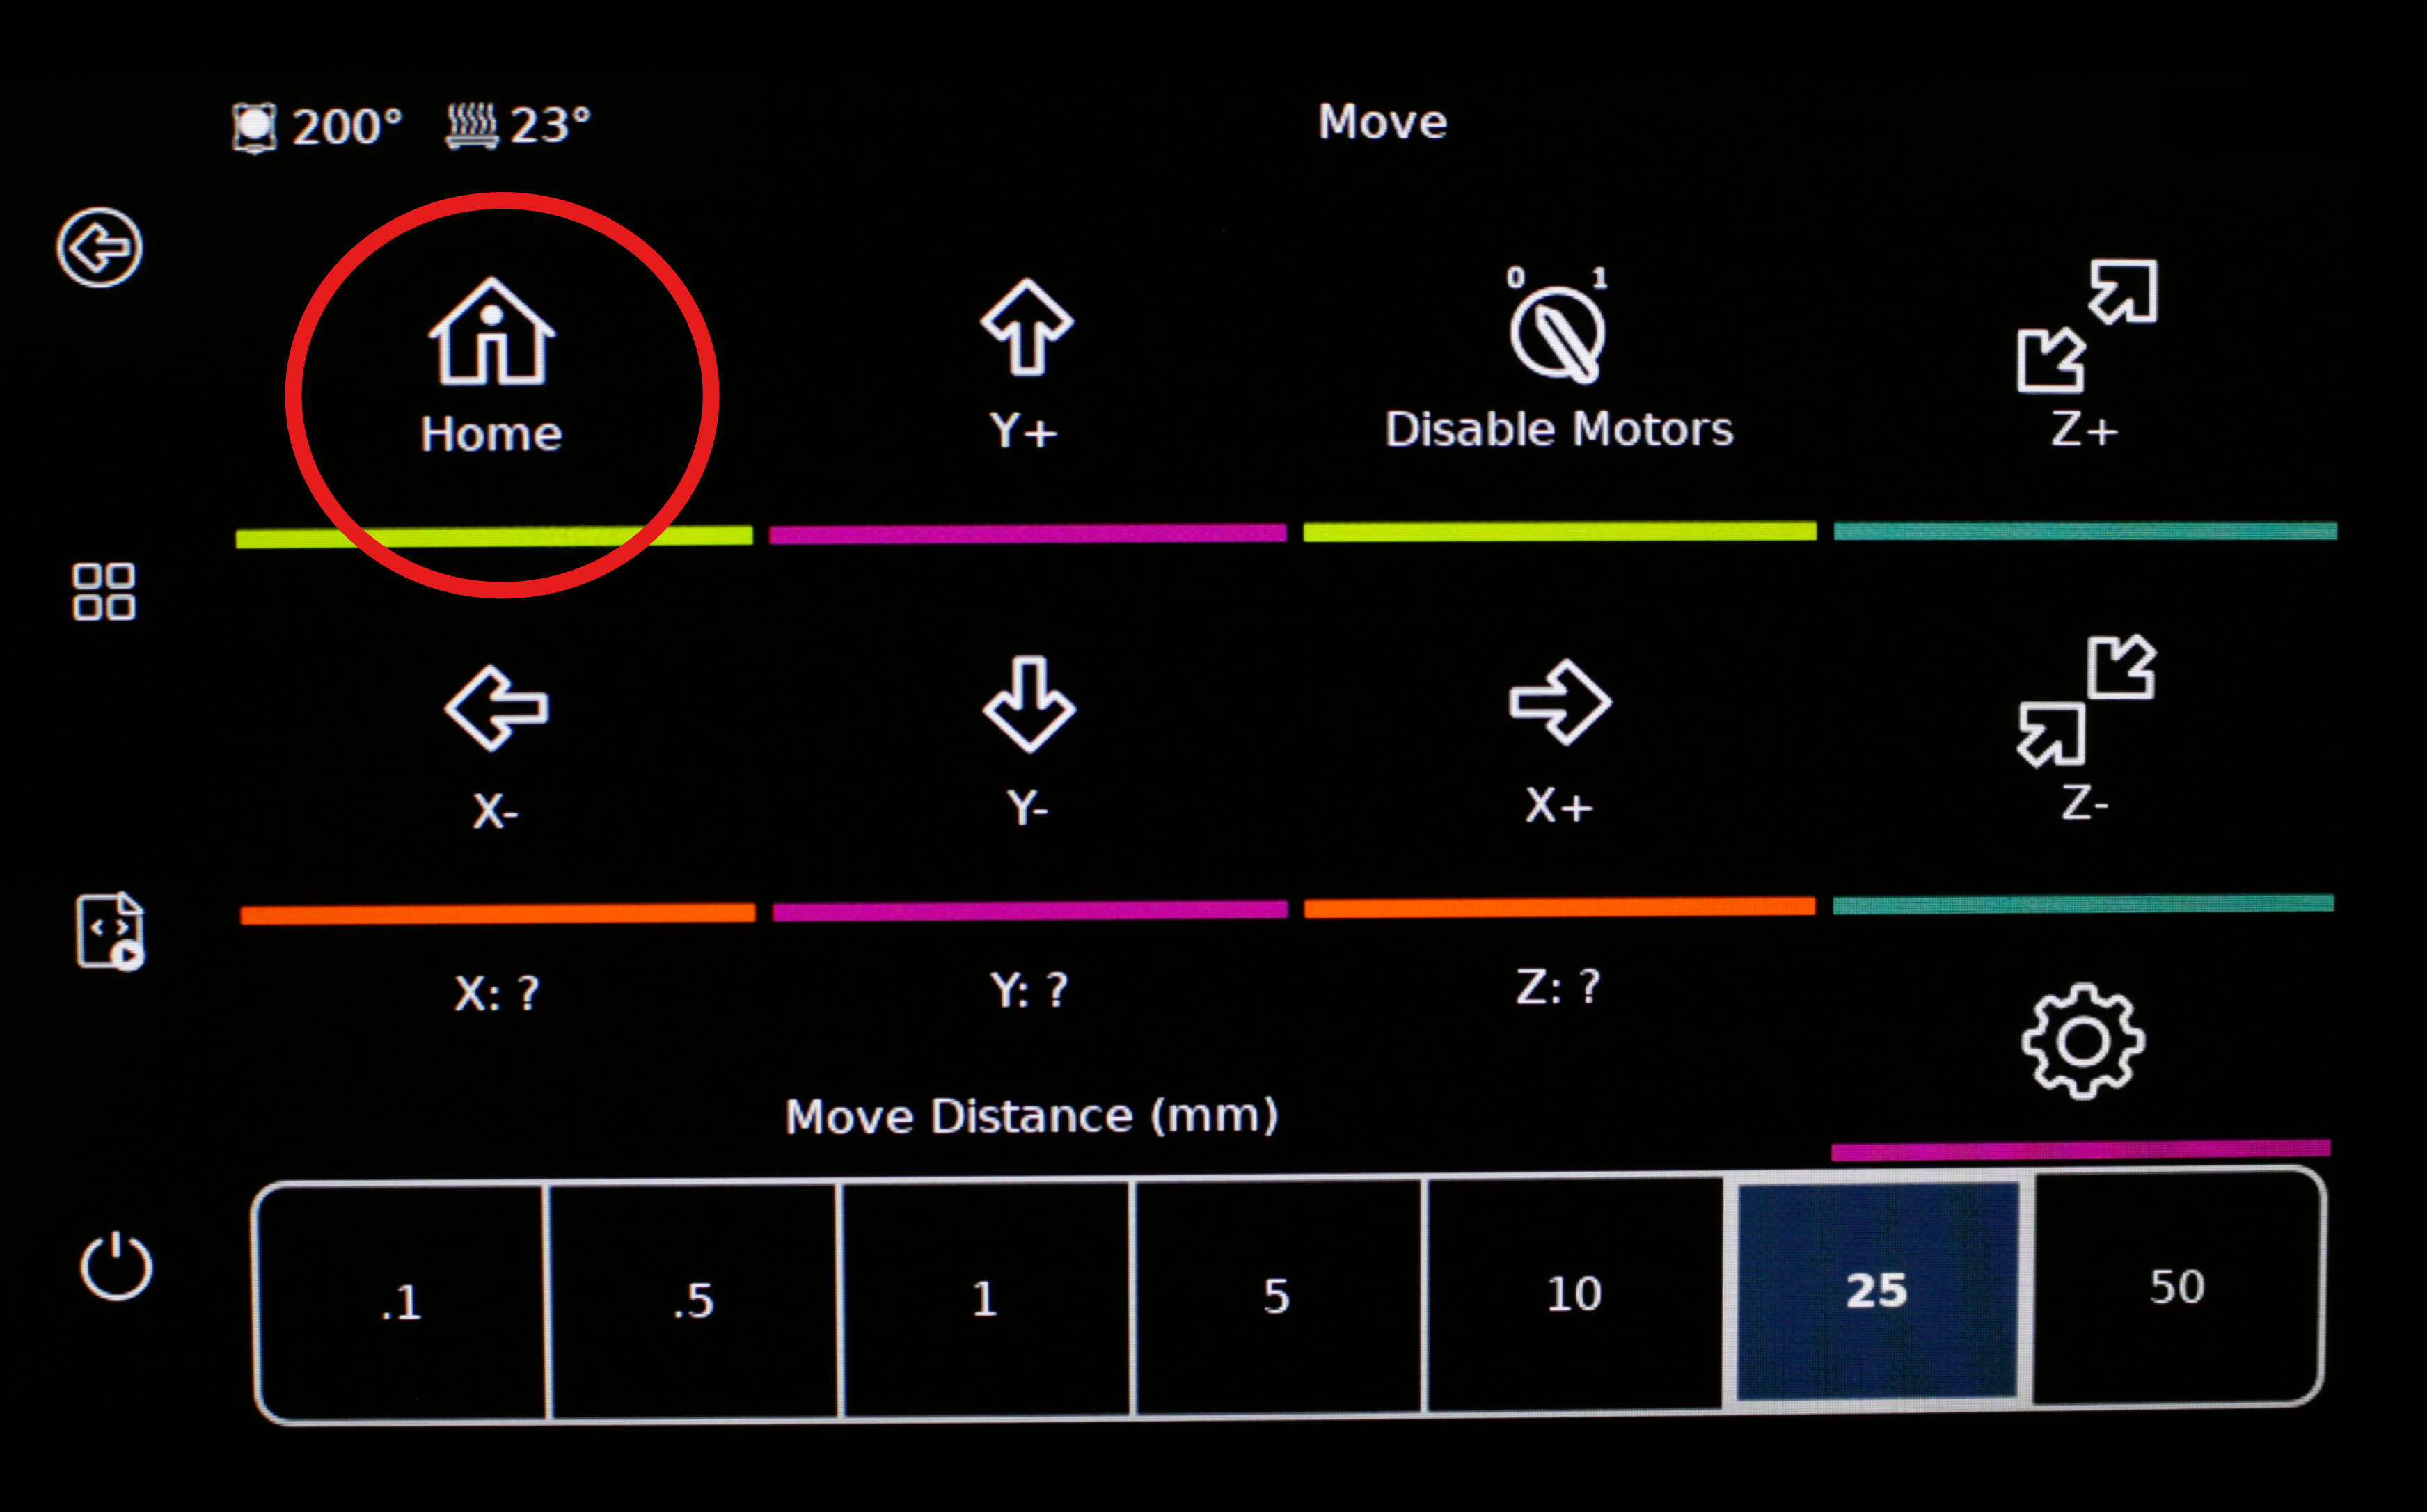
- Click on Home All
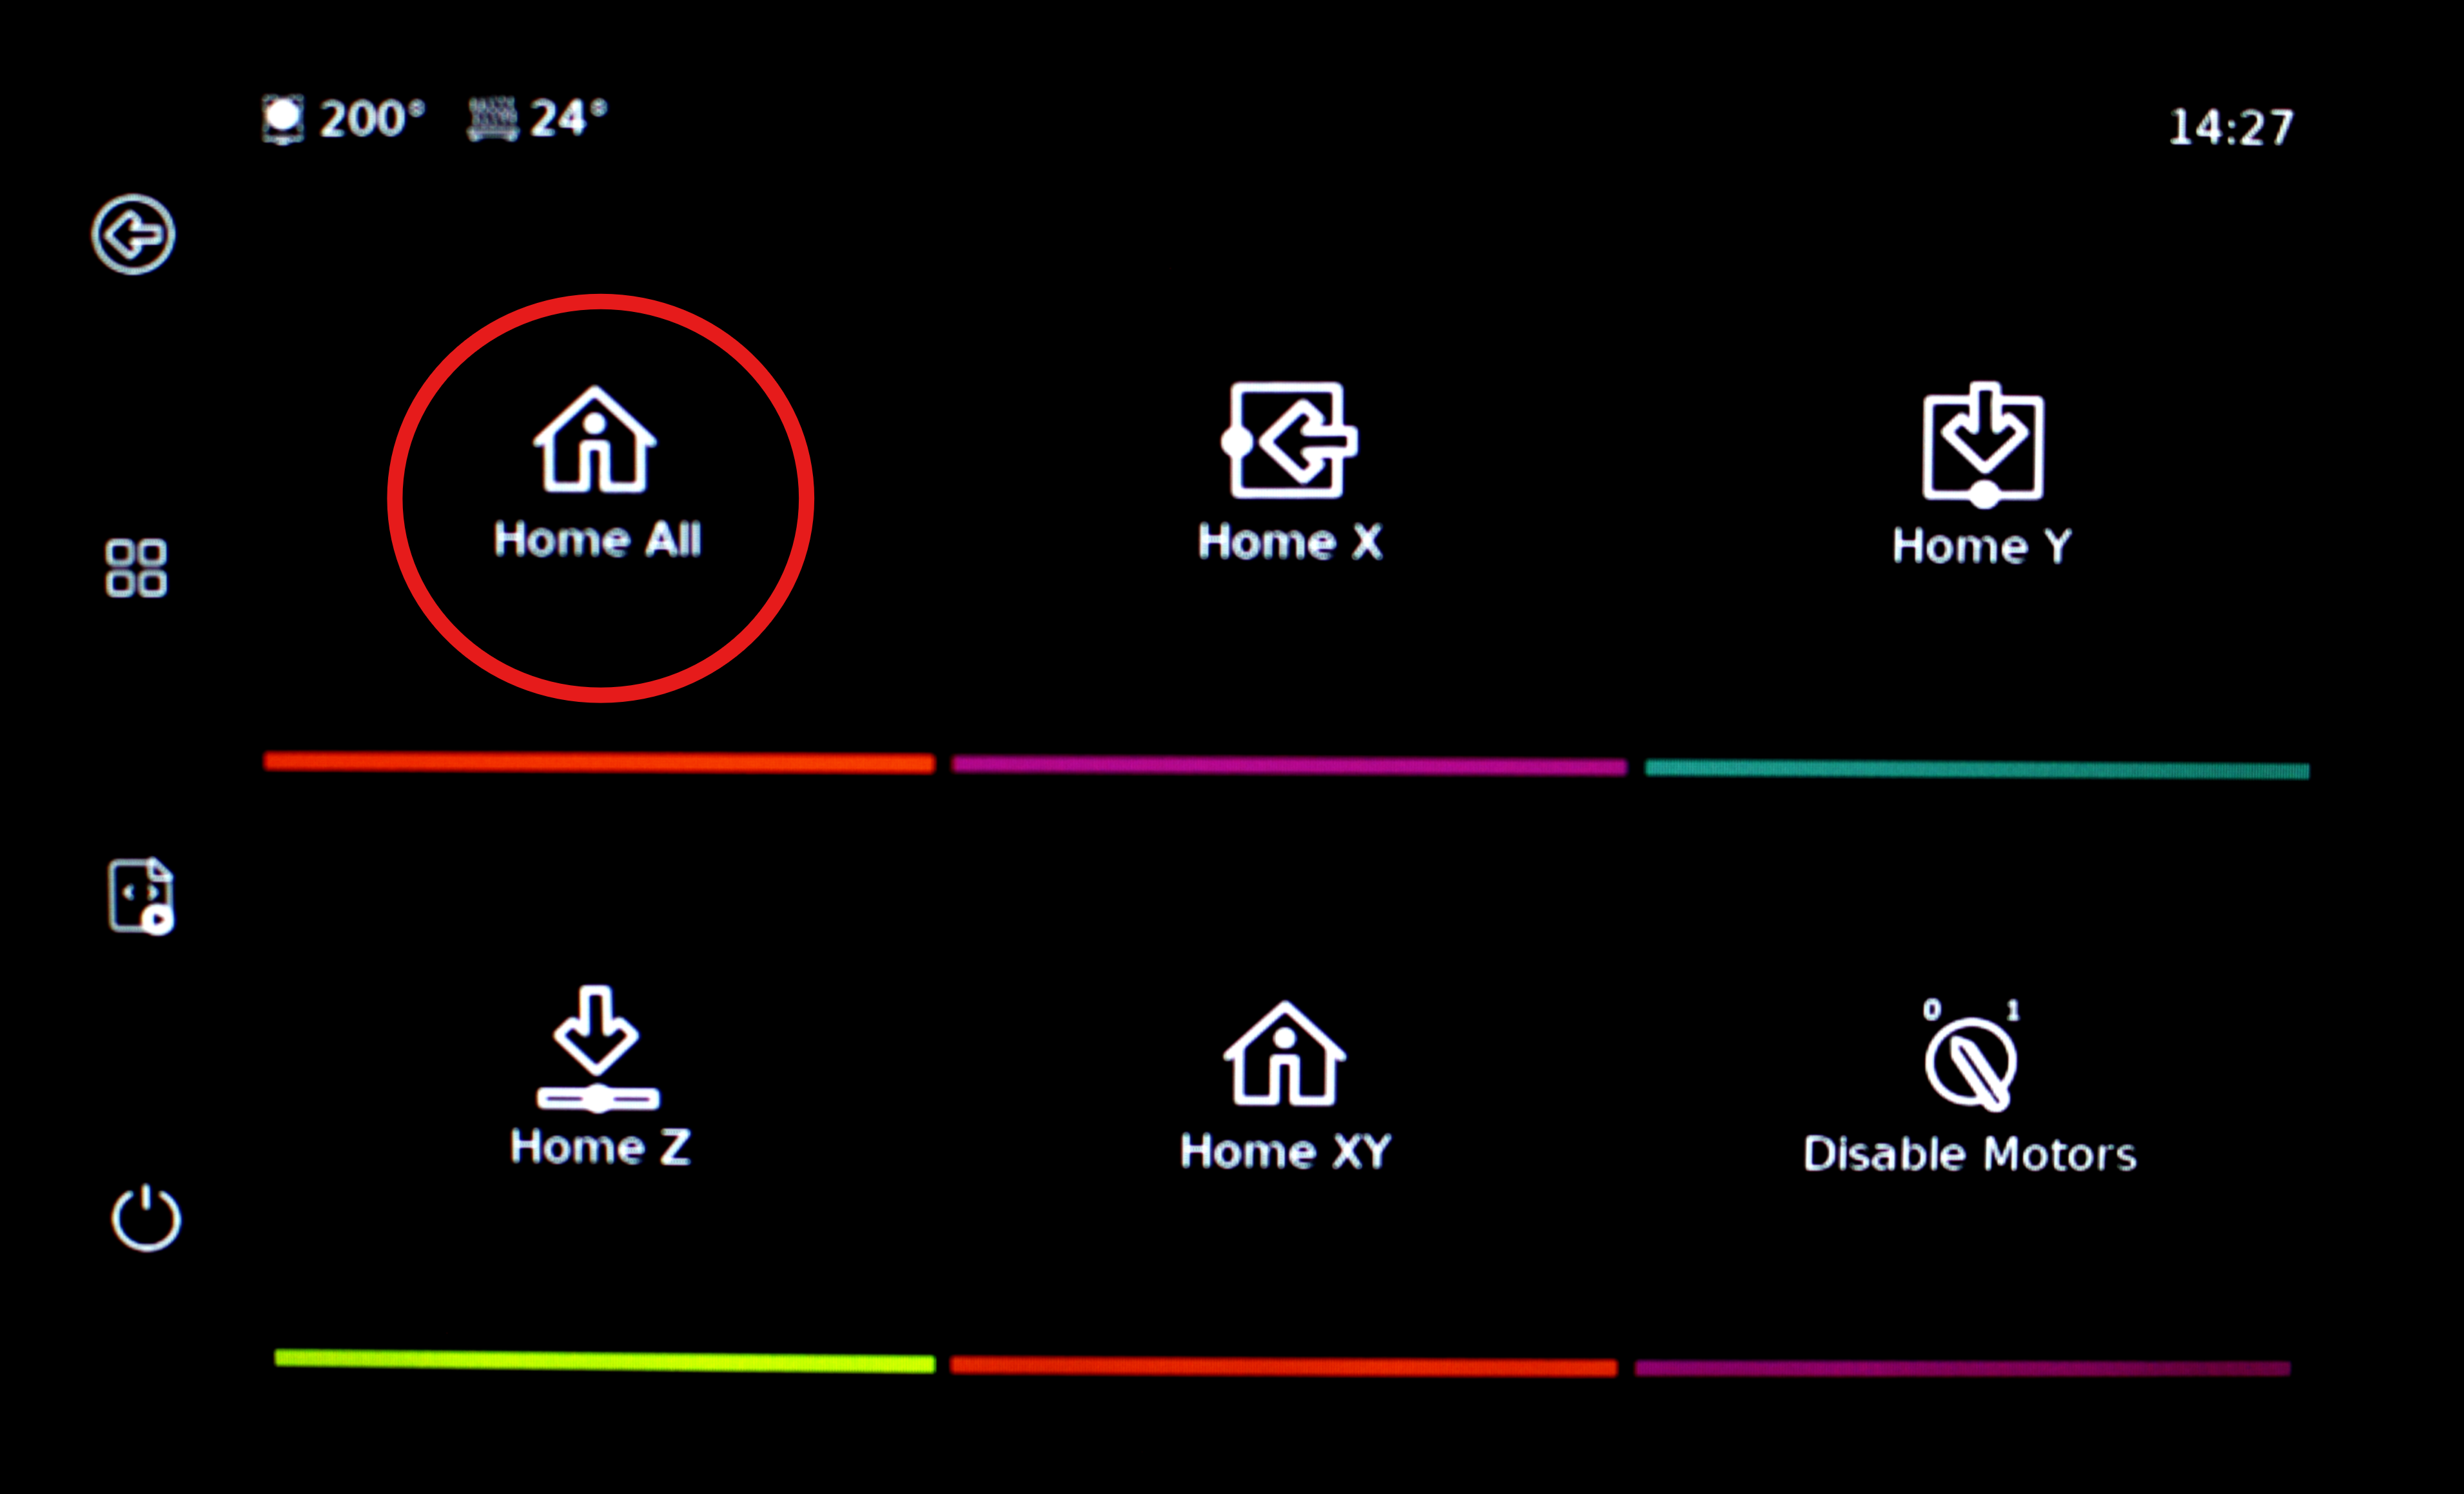
- Click on the back button

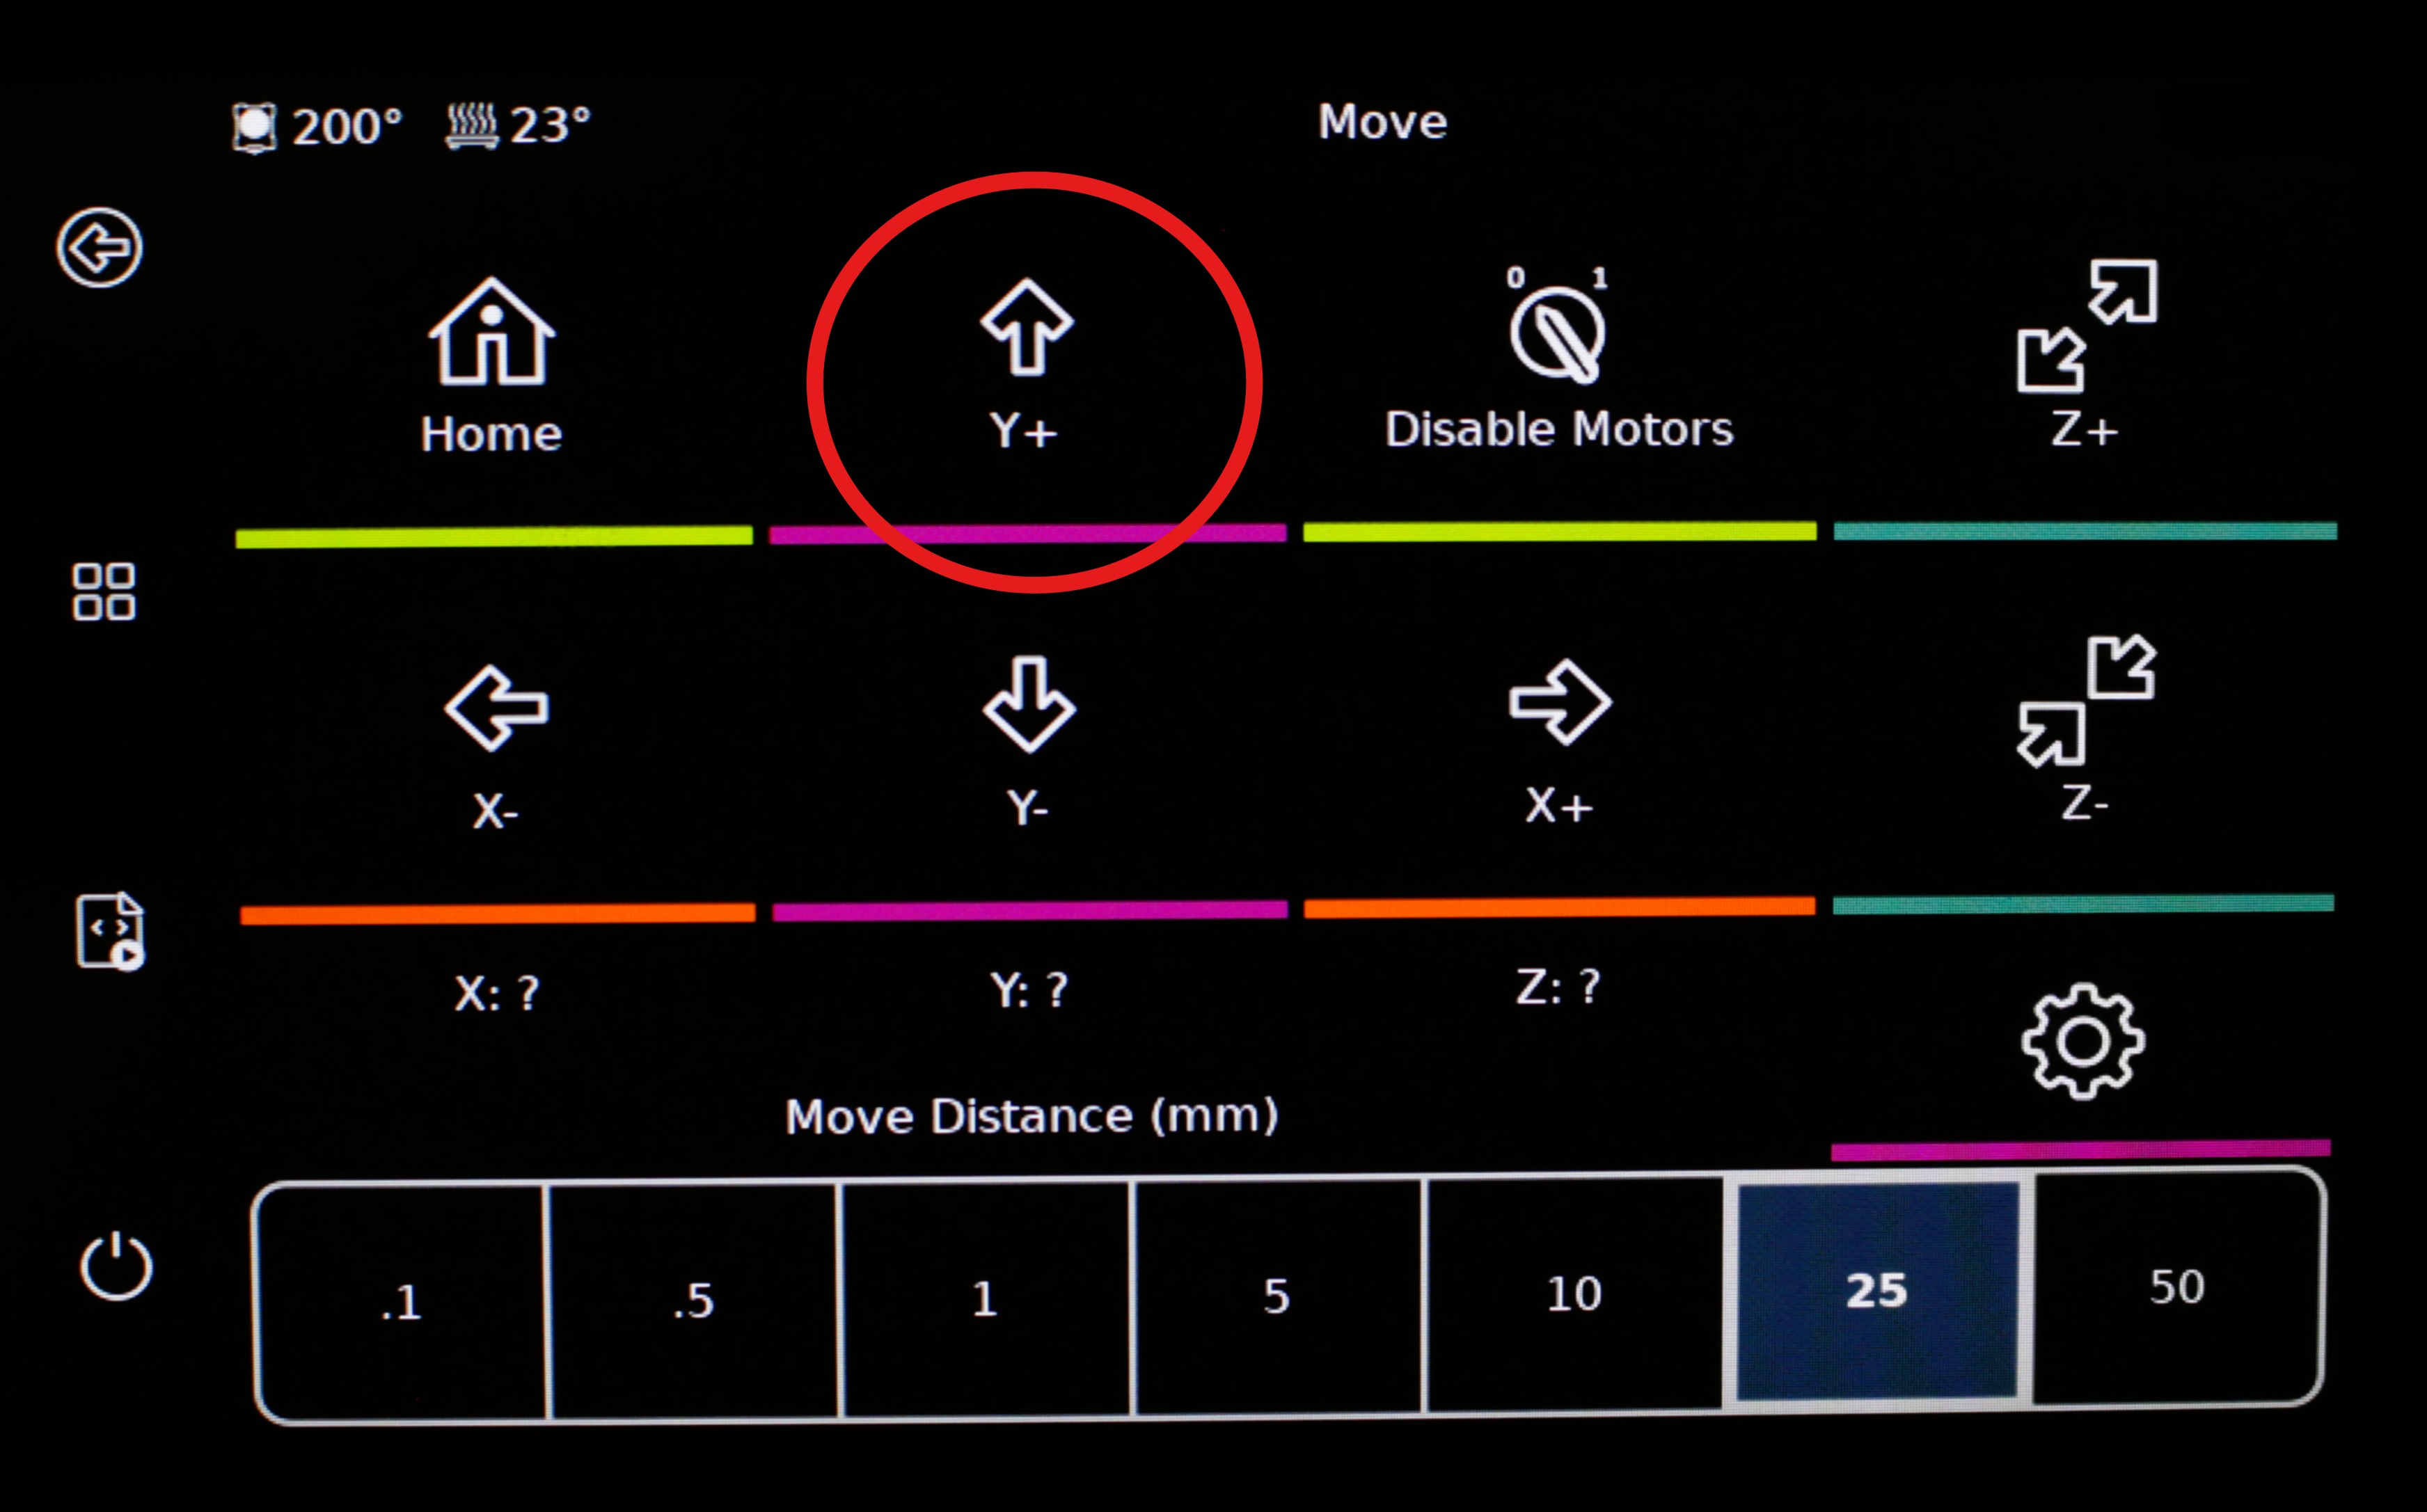
2. Move the extruder up
By going back to the Move menu. You can click on Y+ to move the extruder up to make room to clean the nozzle.
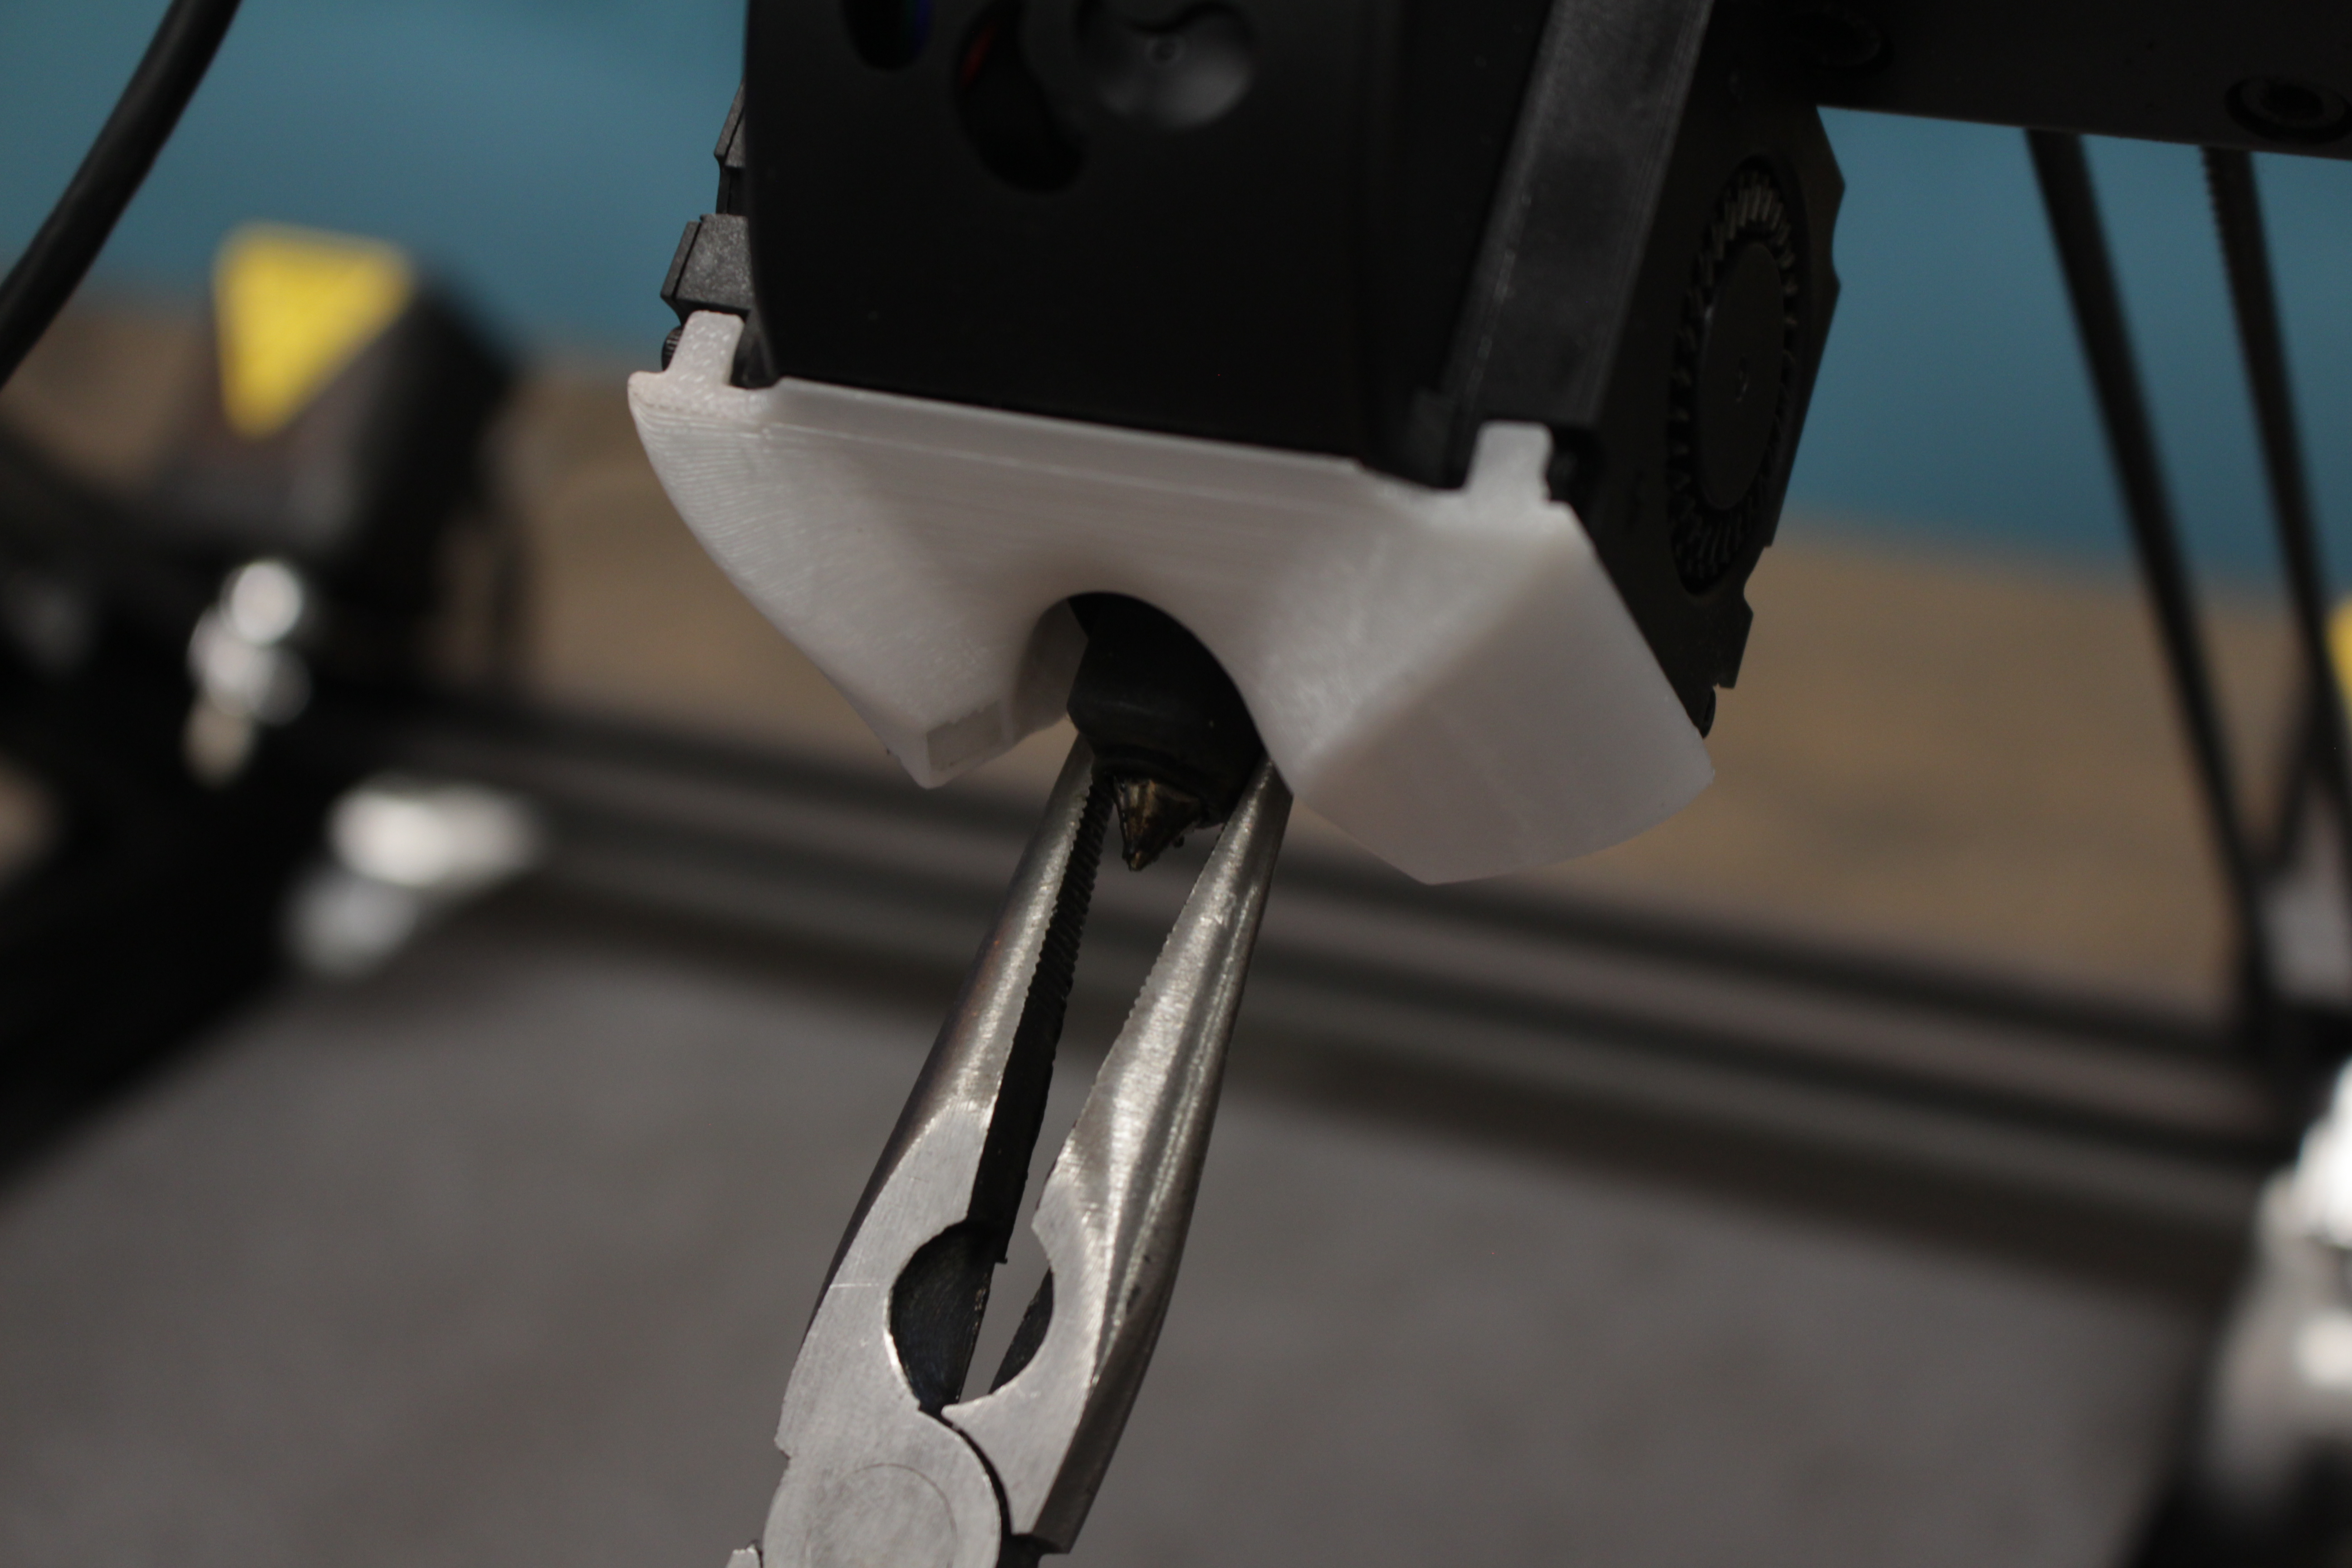
3. Remove the Silicone Casing.
Carefully pull the Silicone Casing off the Hotend.
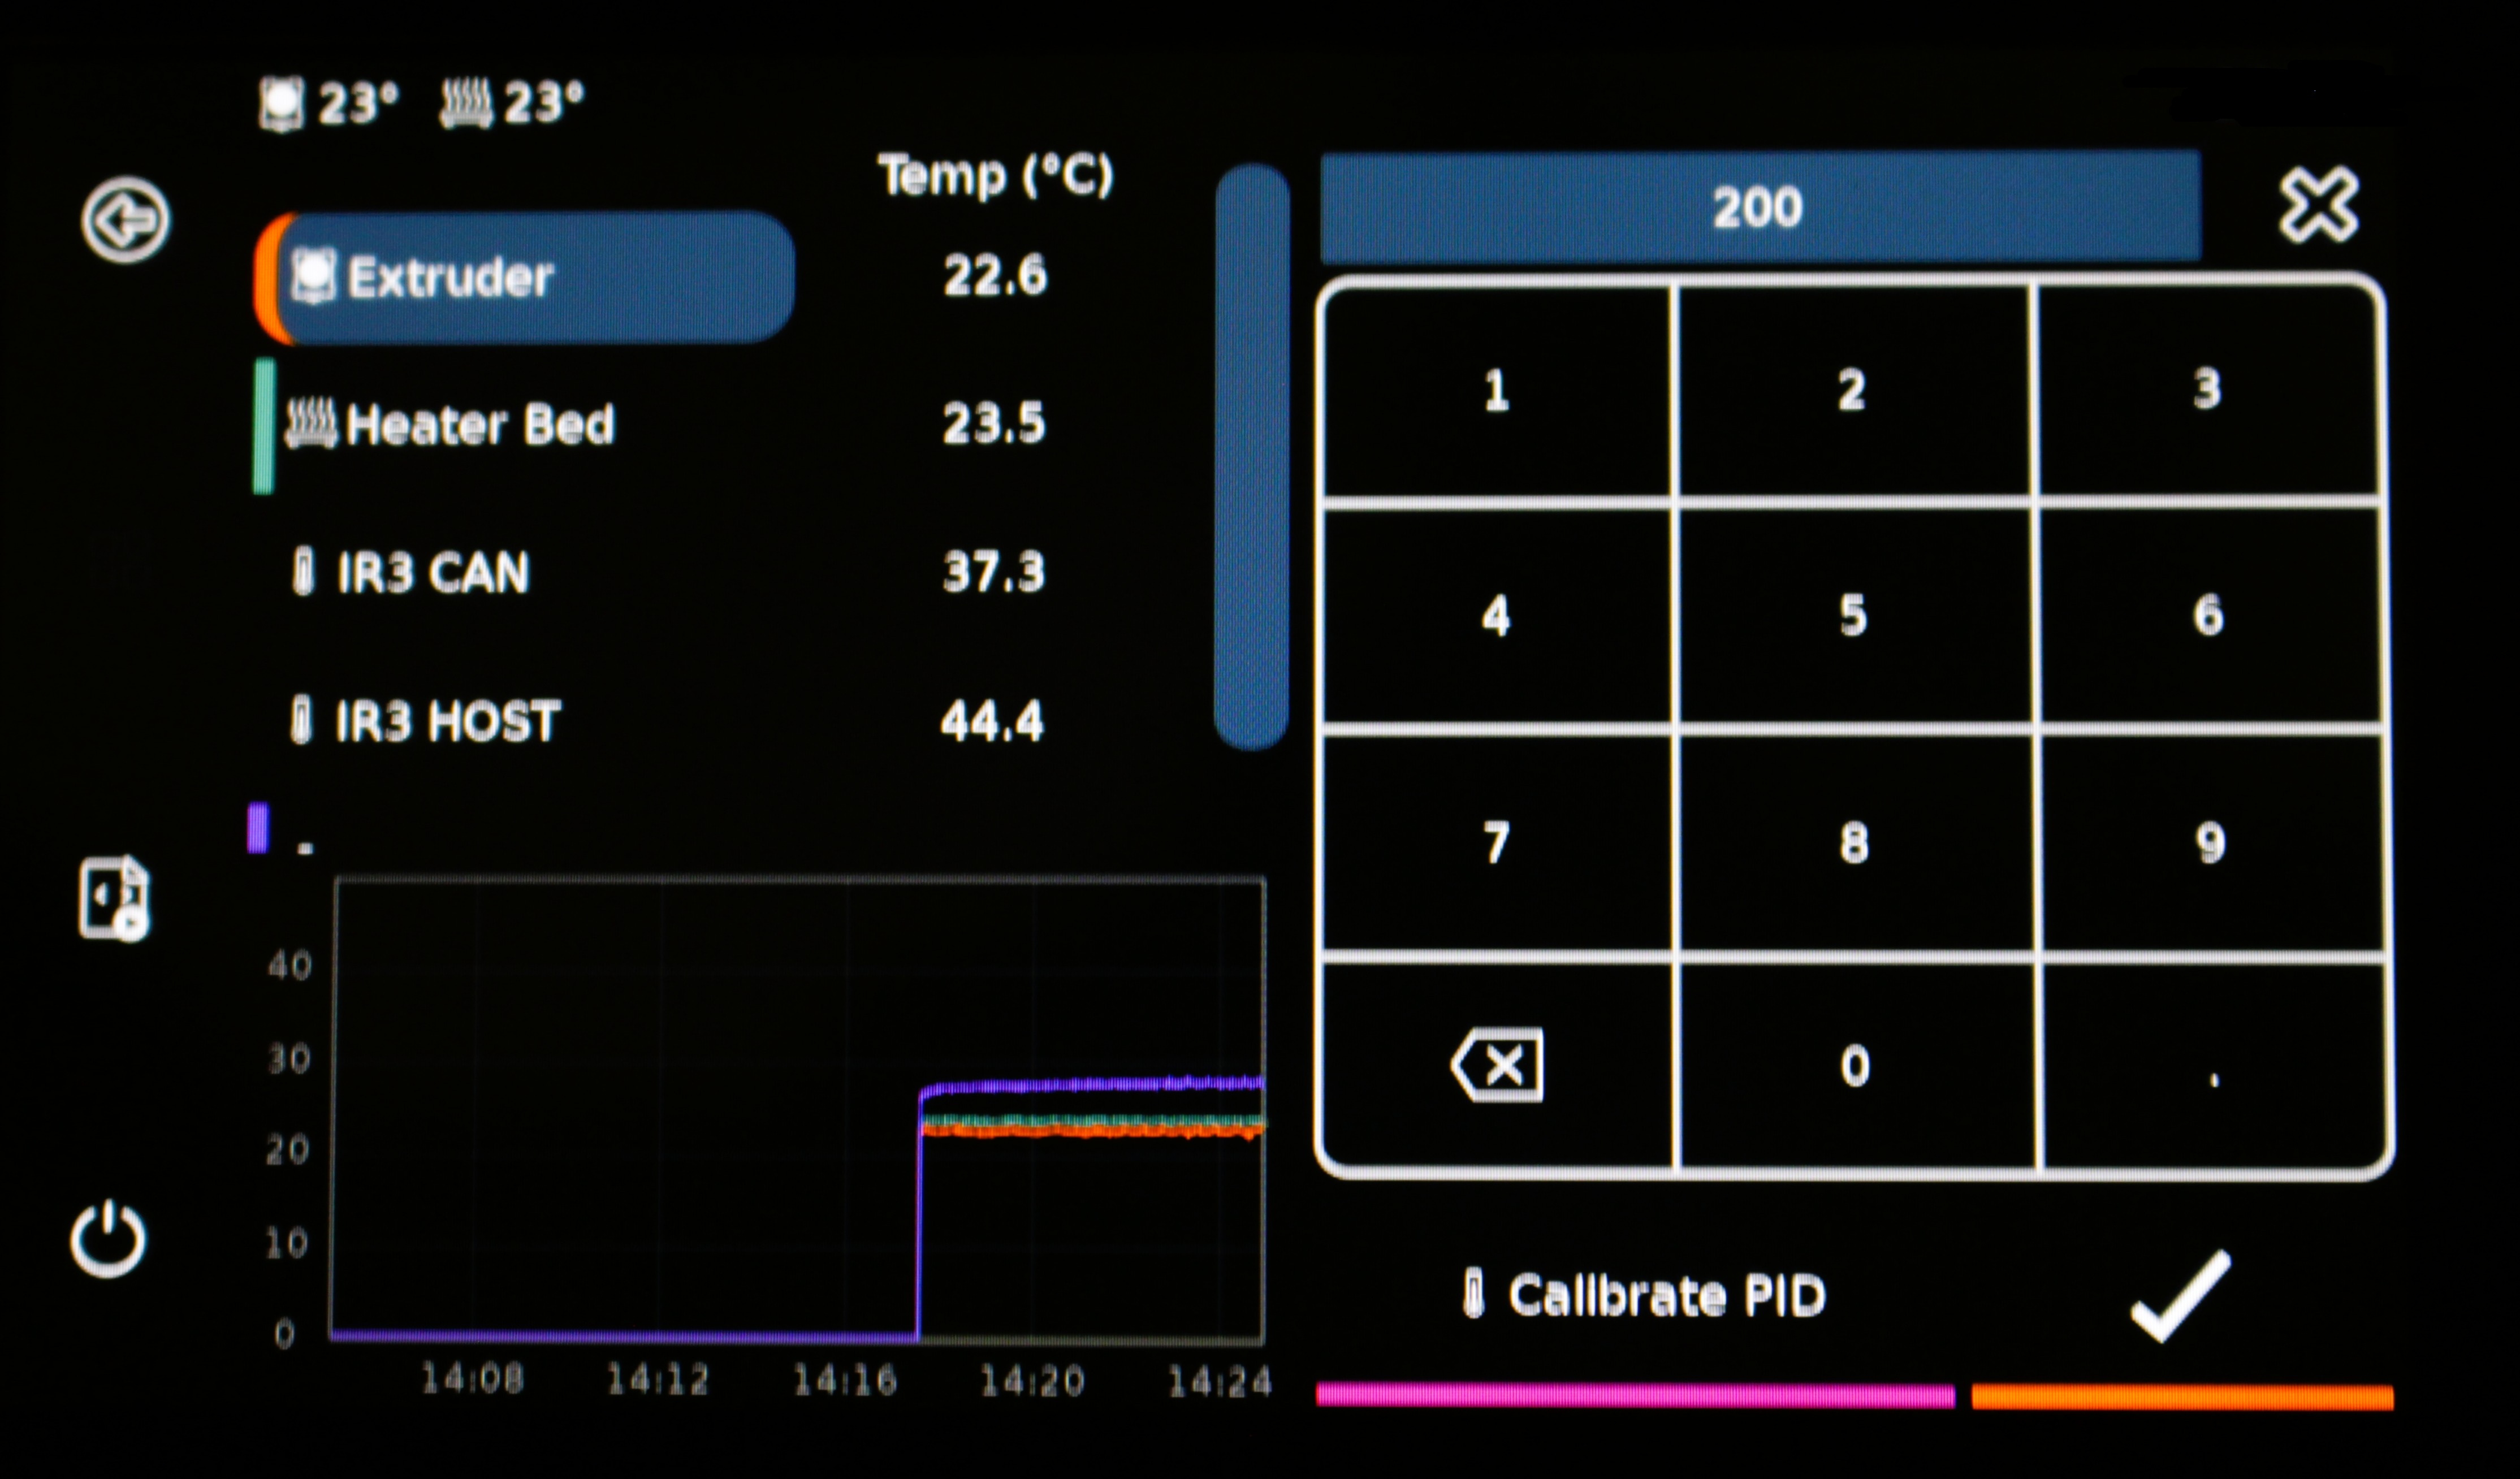
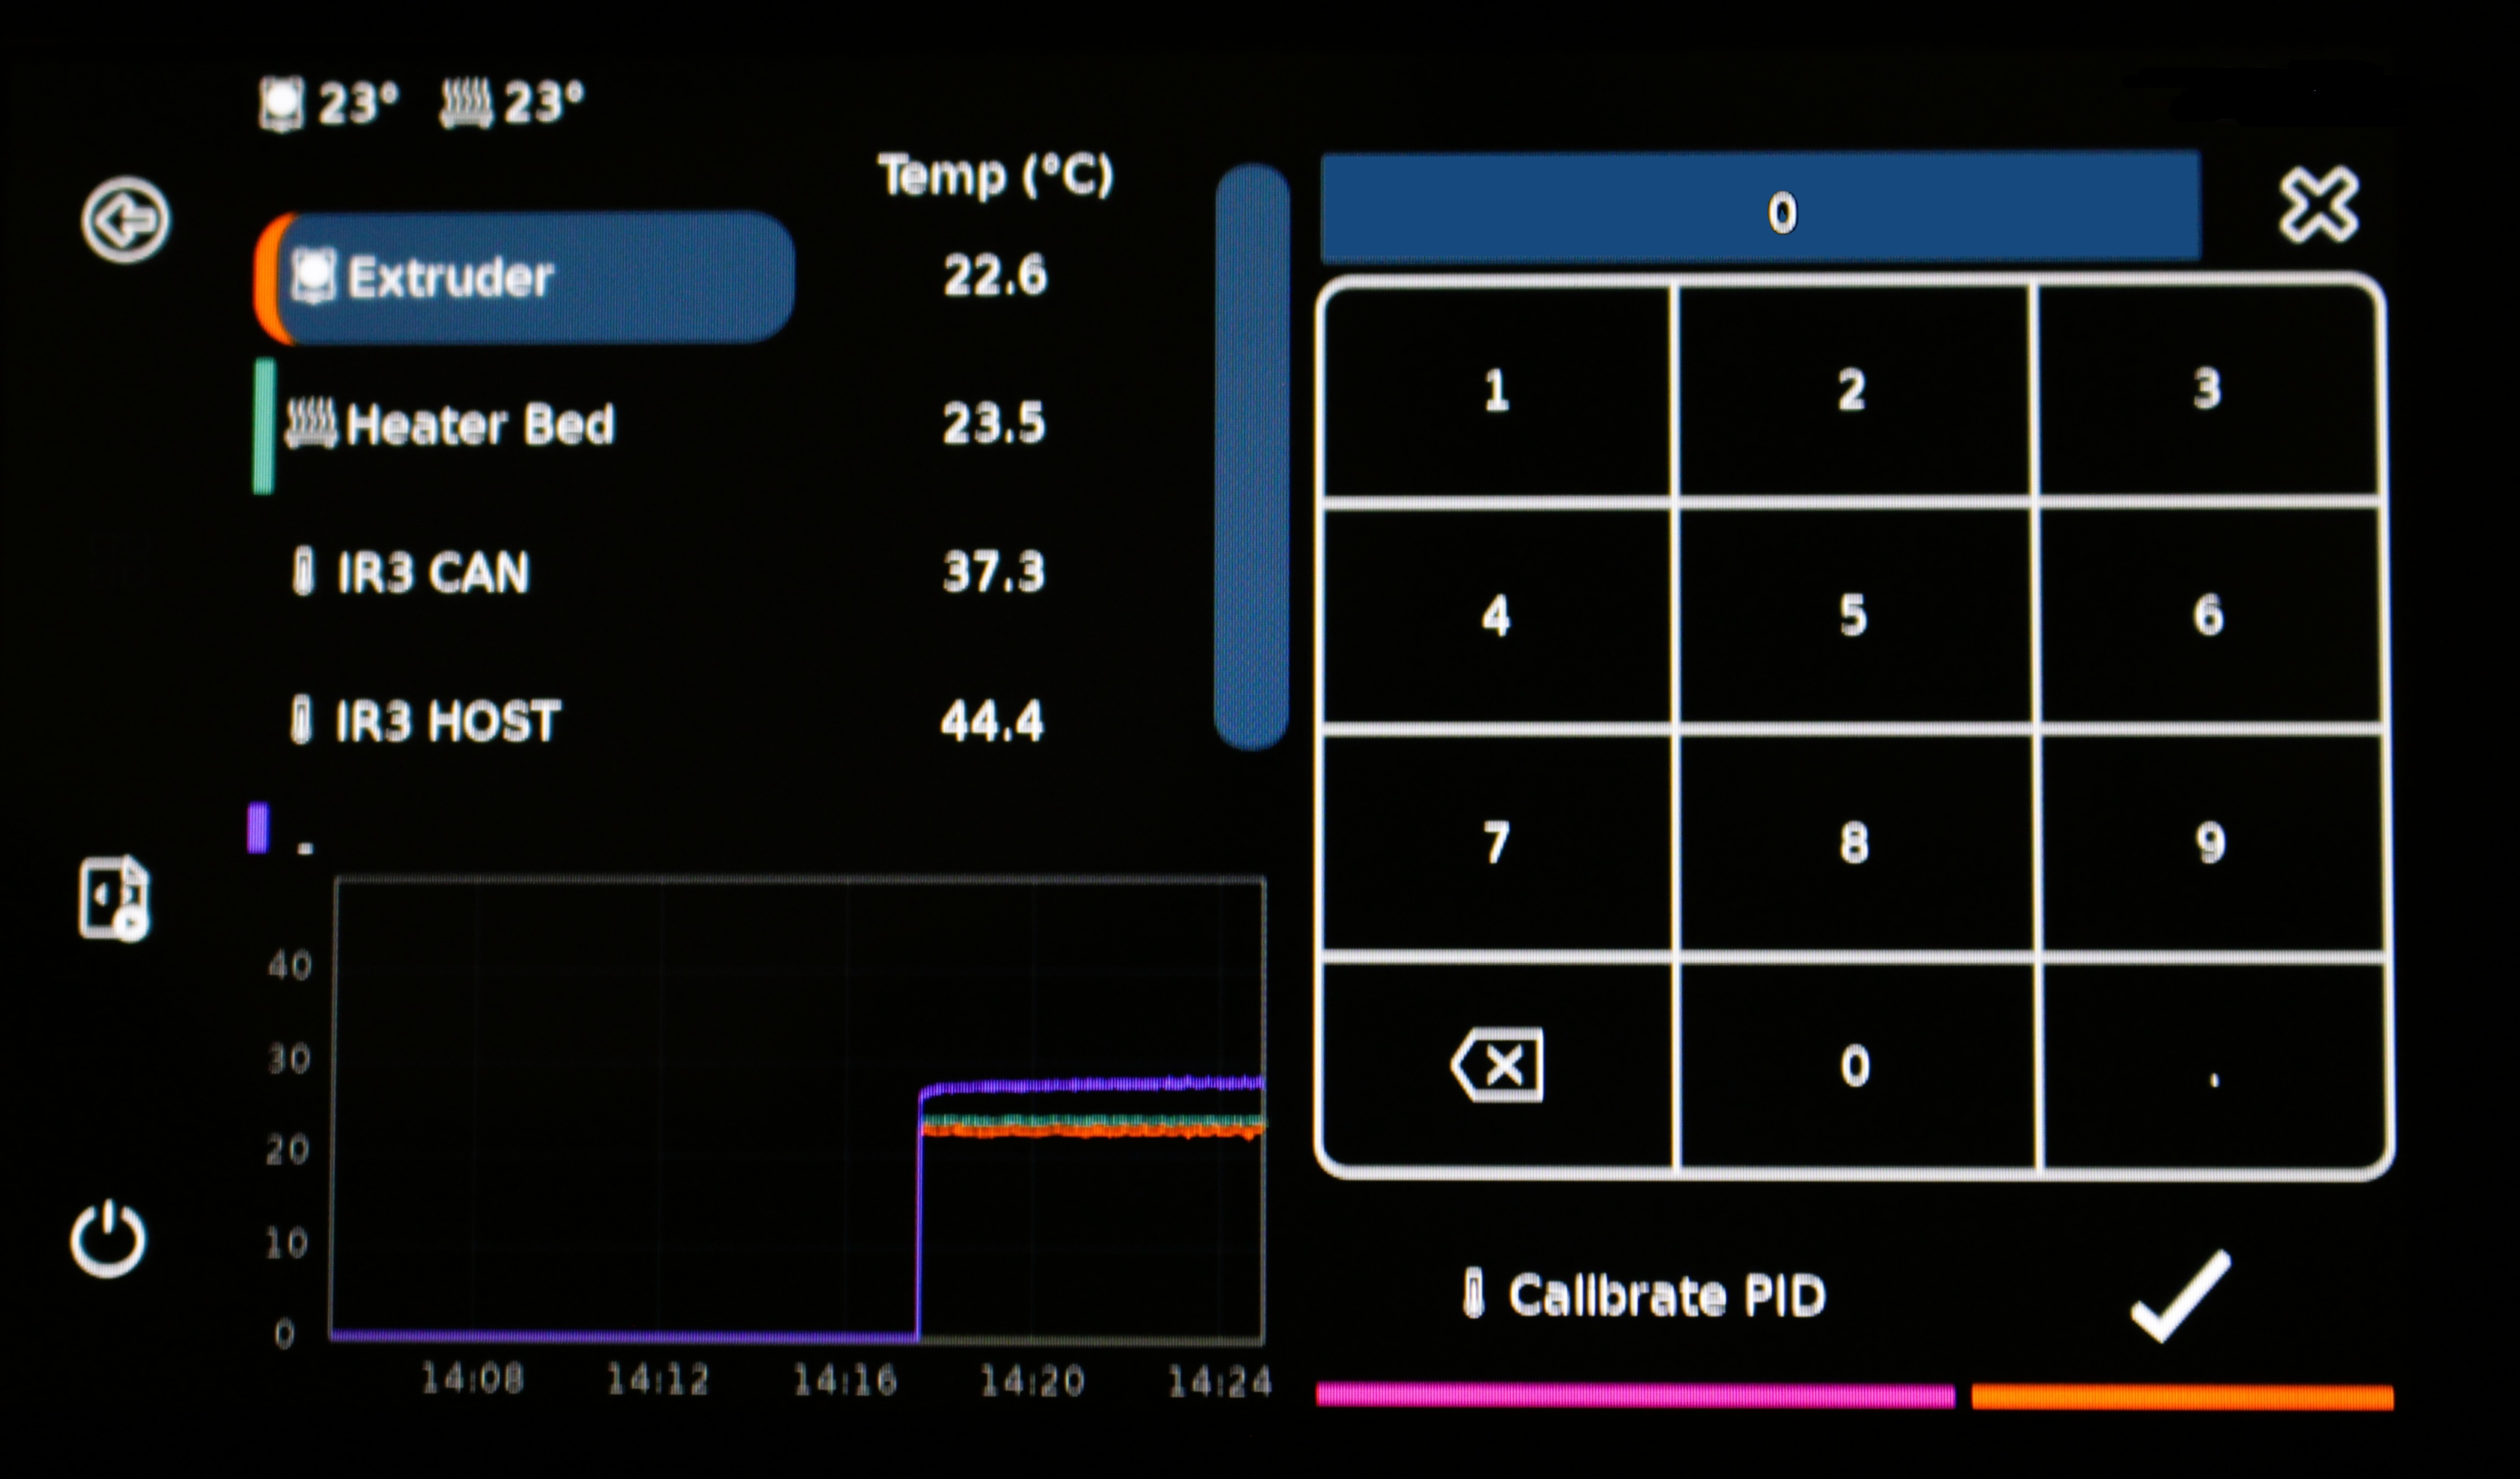
4. Set the Temperature to 220 Degrees.
Tap on the temperature behind "Extruder", enter 220 and click the checkbox to confirm.
Wait for the Temperature to reach 220 Degrees
5. Remove the nozzle.
The Extruder/Nozzle/Hotend are very hot!
Hold the Hotend with pliers and unscrew the Nozzle.
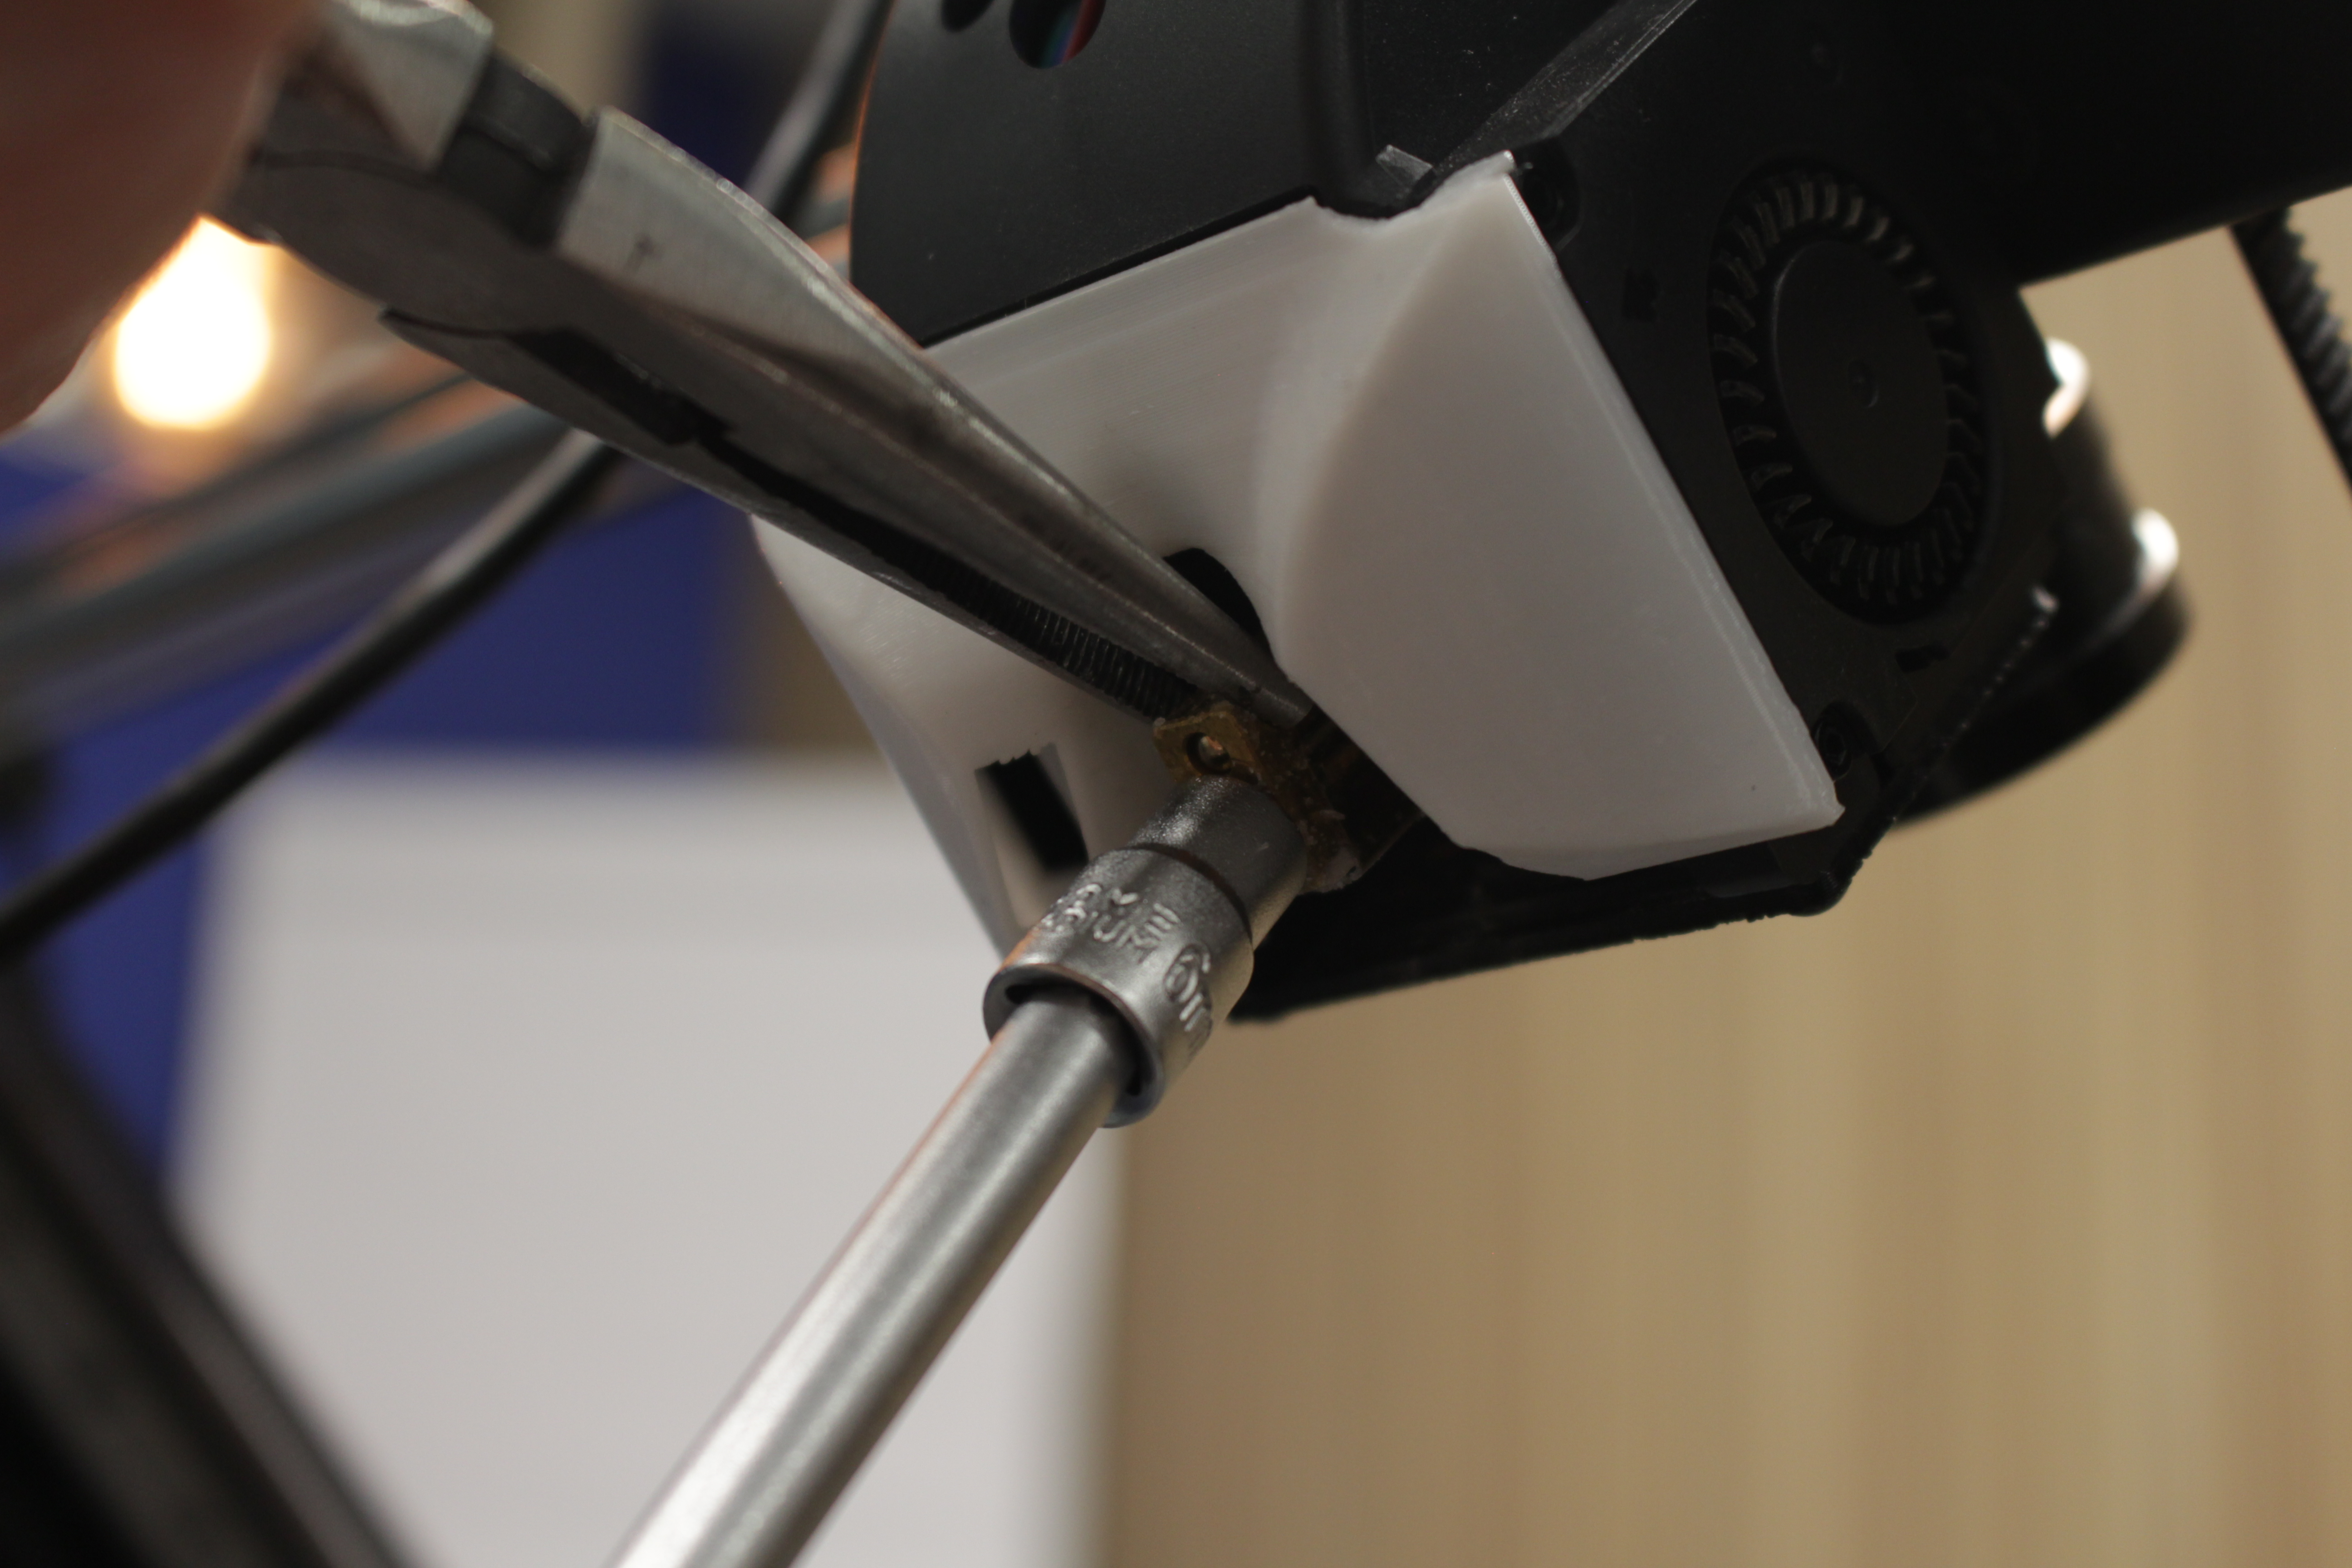
6. Place new nozzle.
Screw in the new Nozzle by using the pliers and screwing in the new nozzle.
Tight is tight.
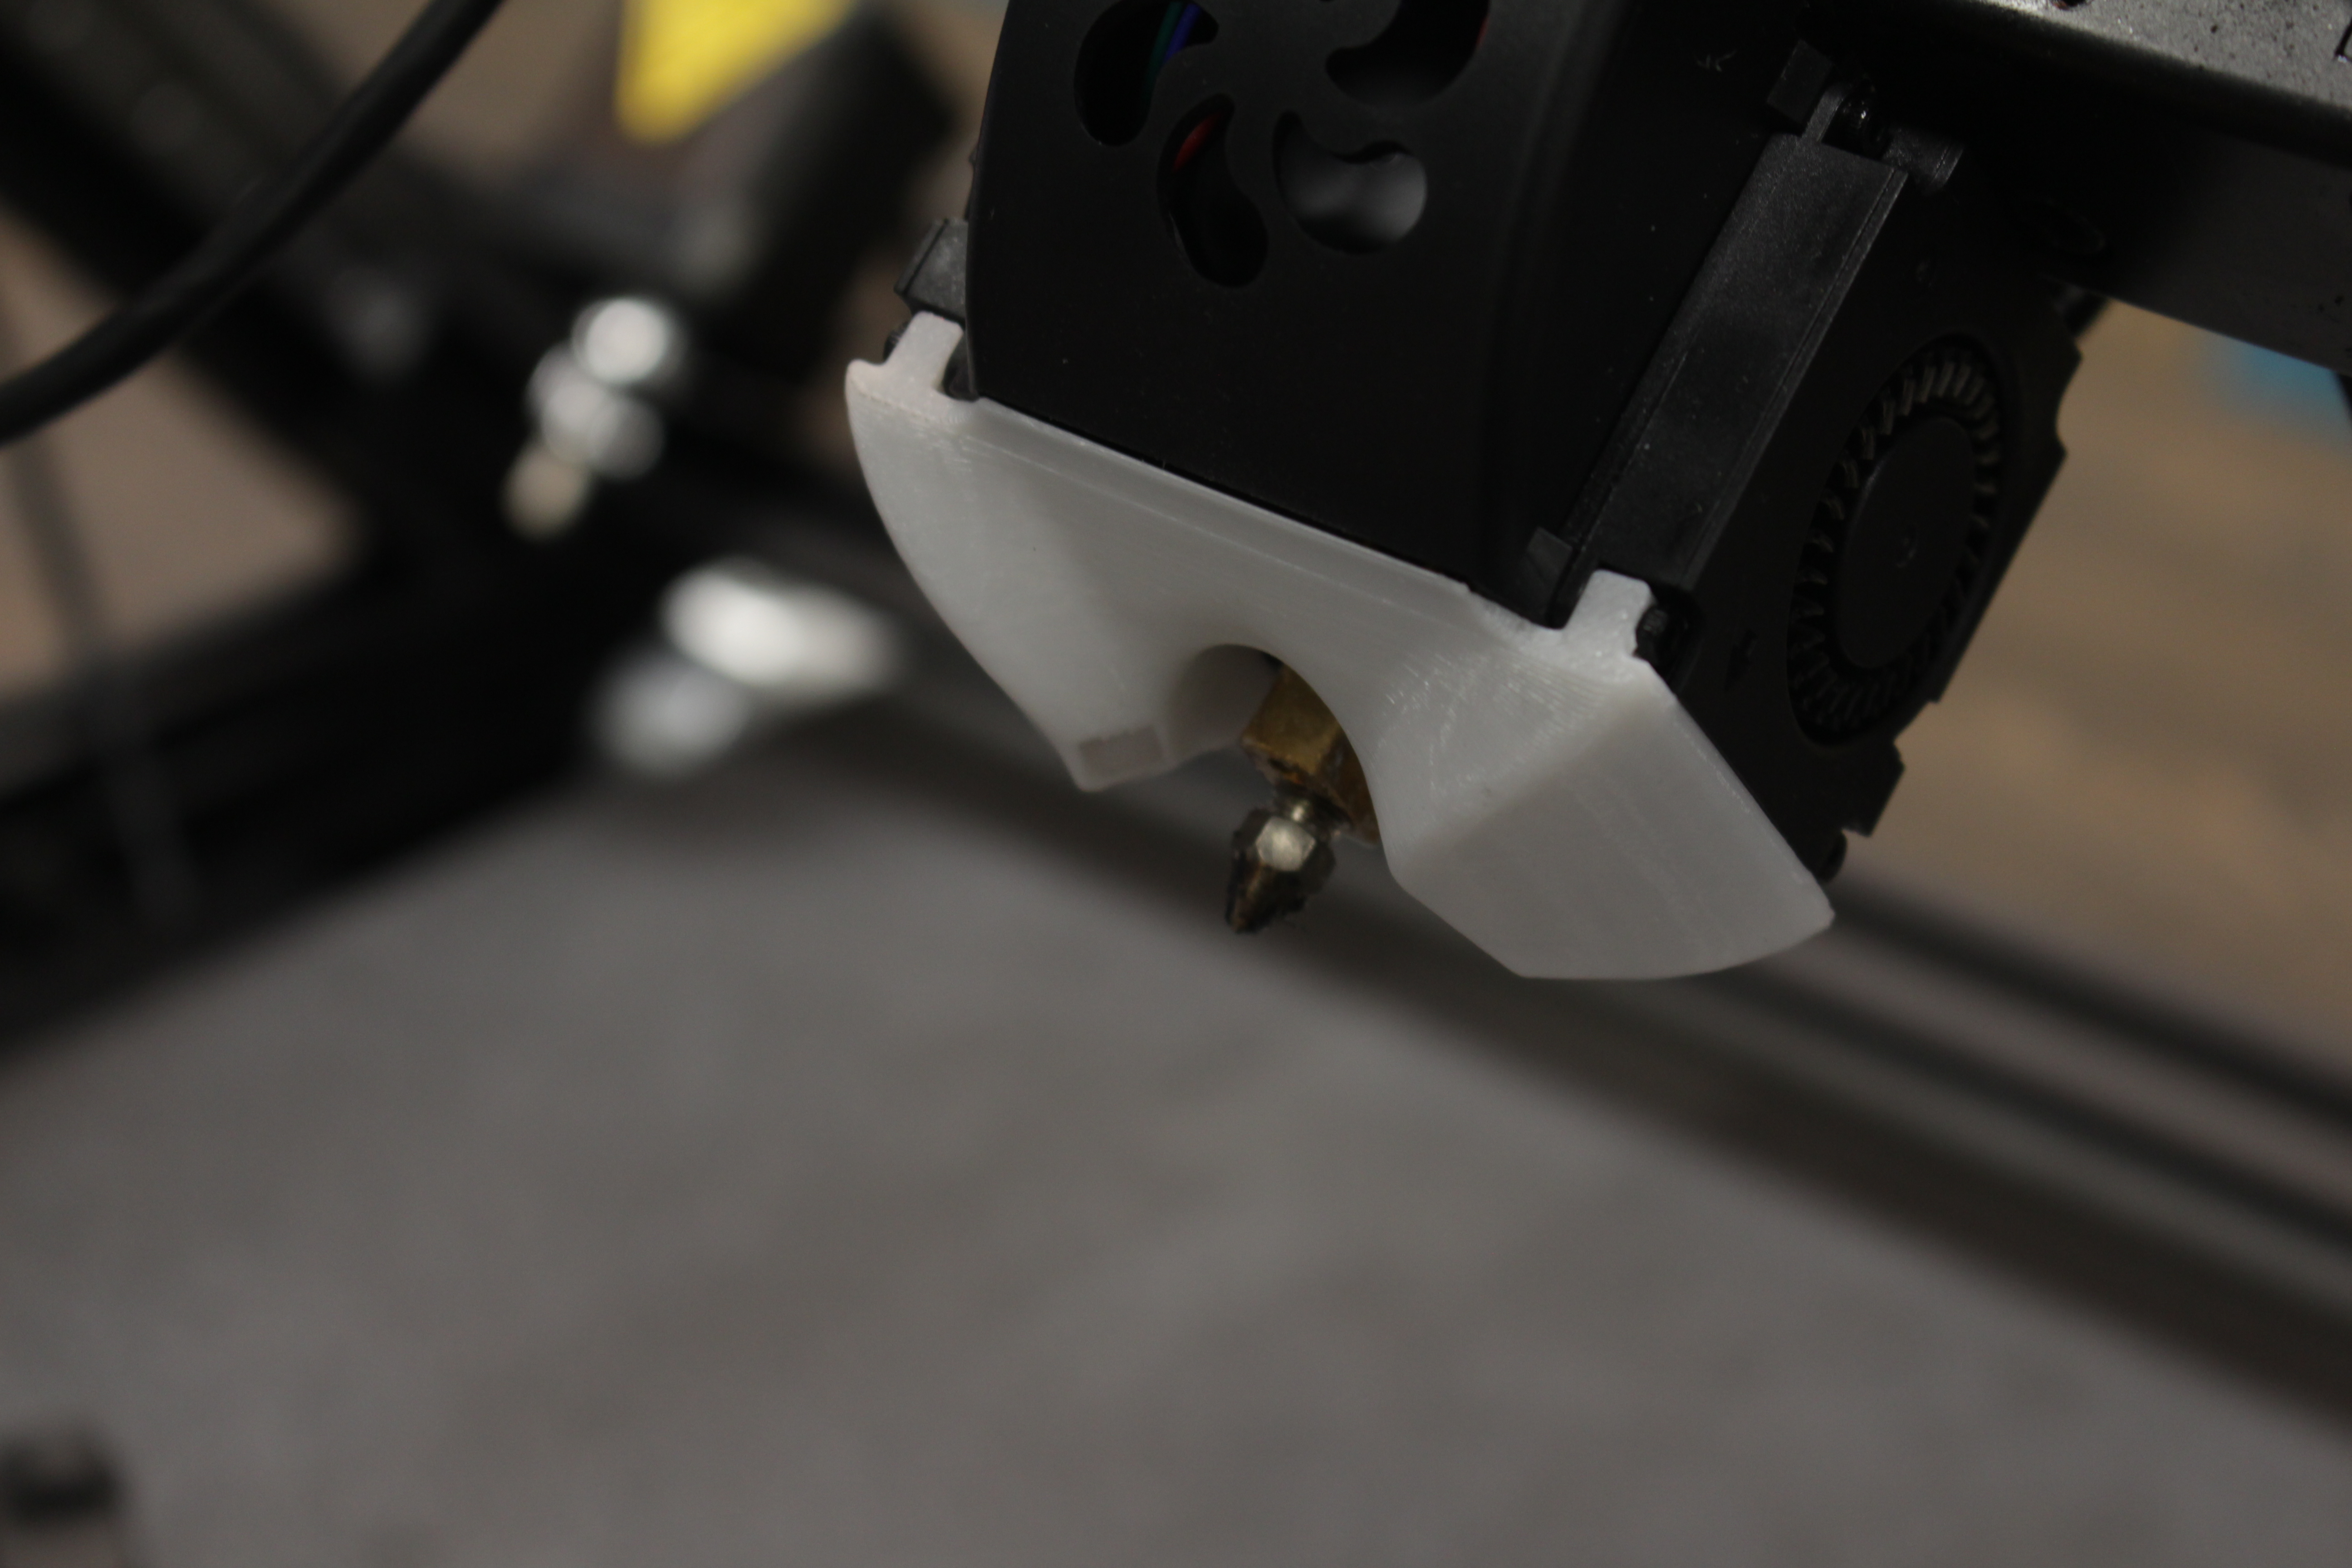
7. Put back the Silicone Casing.
The Extruder/Nozzle/Hotend are still very hot!
8. Put the Temperature on 0 Degrees.
Tap on the temperature behind "Extruder", and fill in 0.
9. Calibrate.
- Click on "Auto Leveling"
- After it is done click on "Accept"
Adjust this with the Y-Offset button.